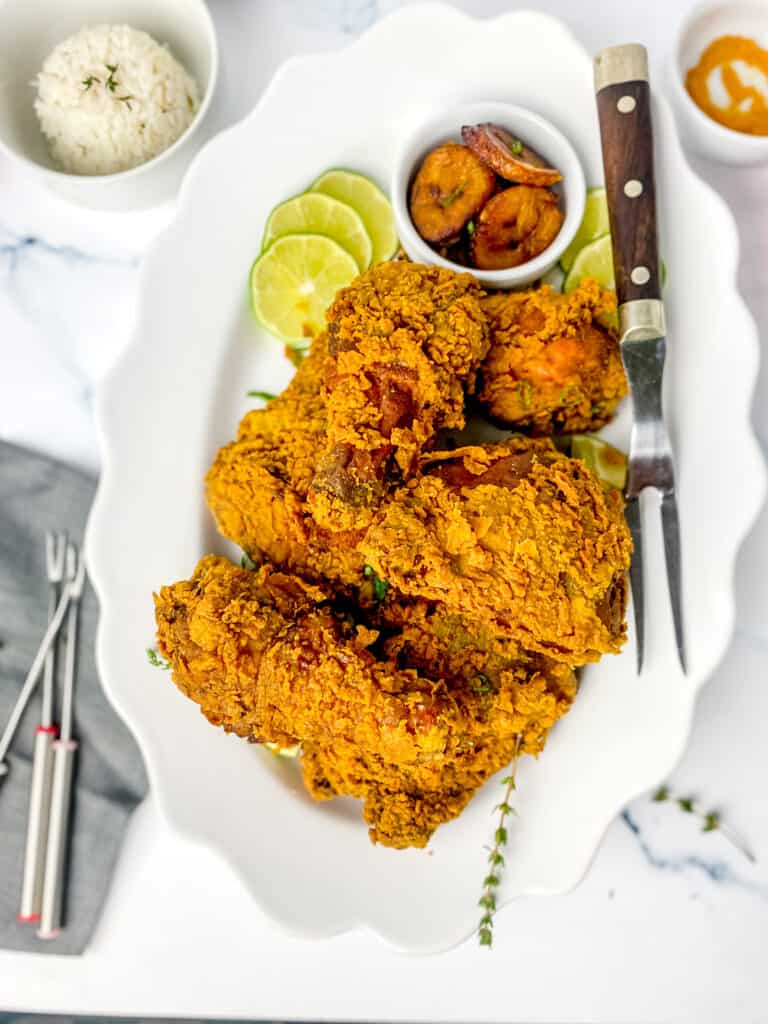
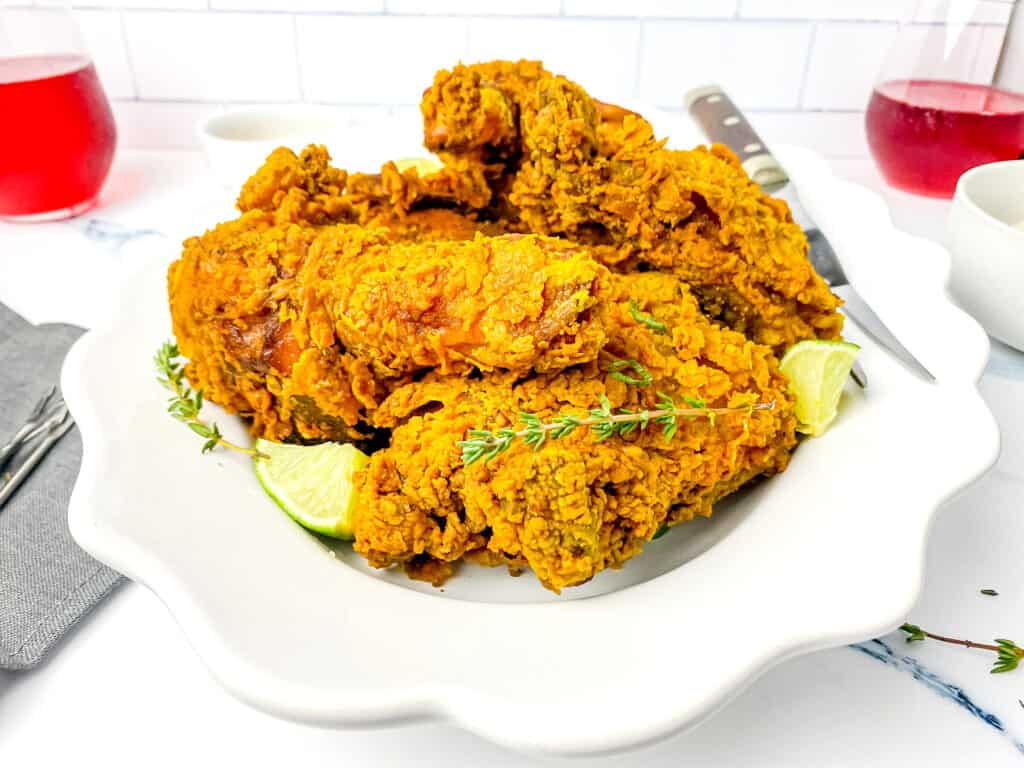
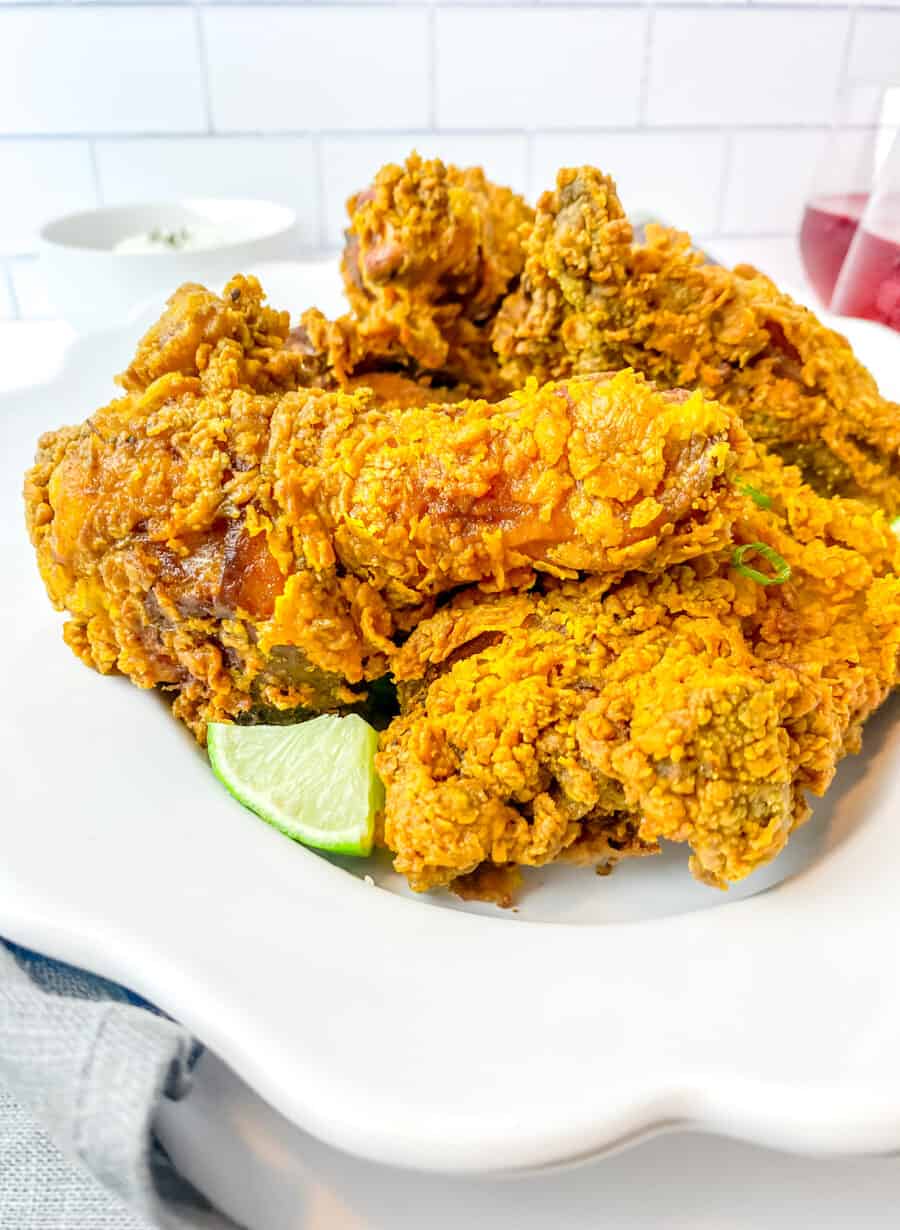
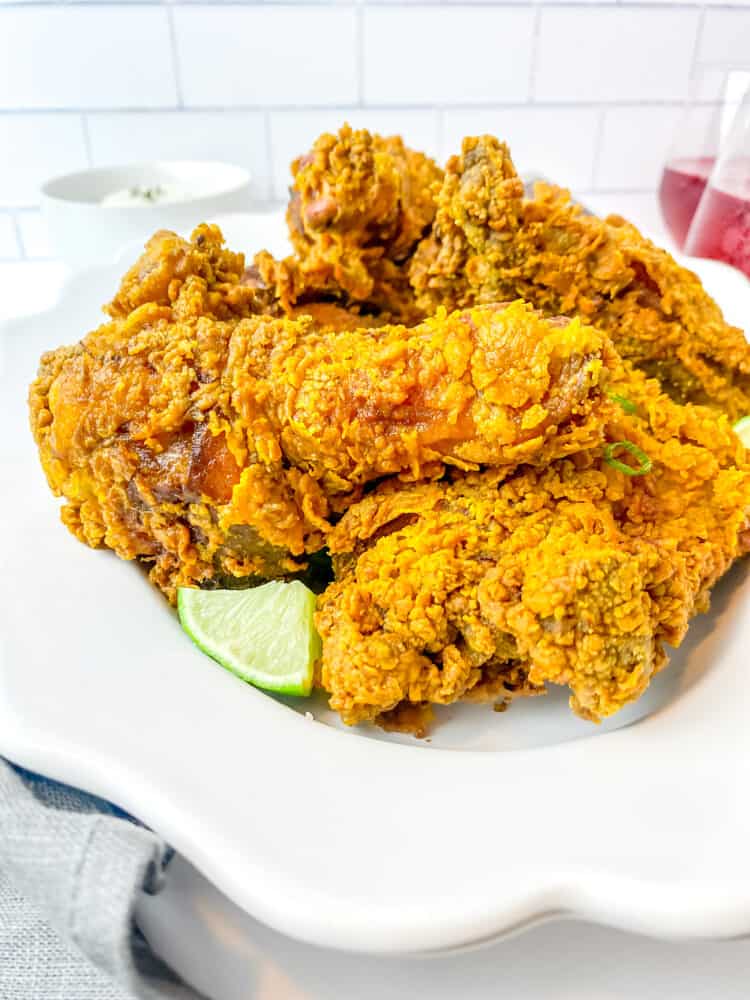
Spice up your fried chicken game with this delicious curry fried chicken recipe! A Caribbean twist on a classic Southern dish with bold Jamaican curry powder for added flavor. Perfect for your next picnic or dinner!
INTRODUCTION
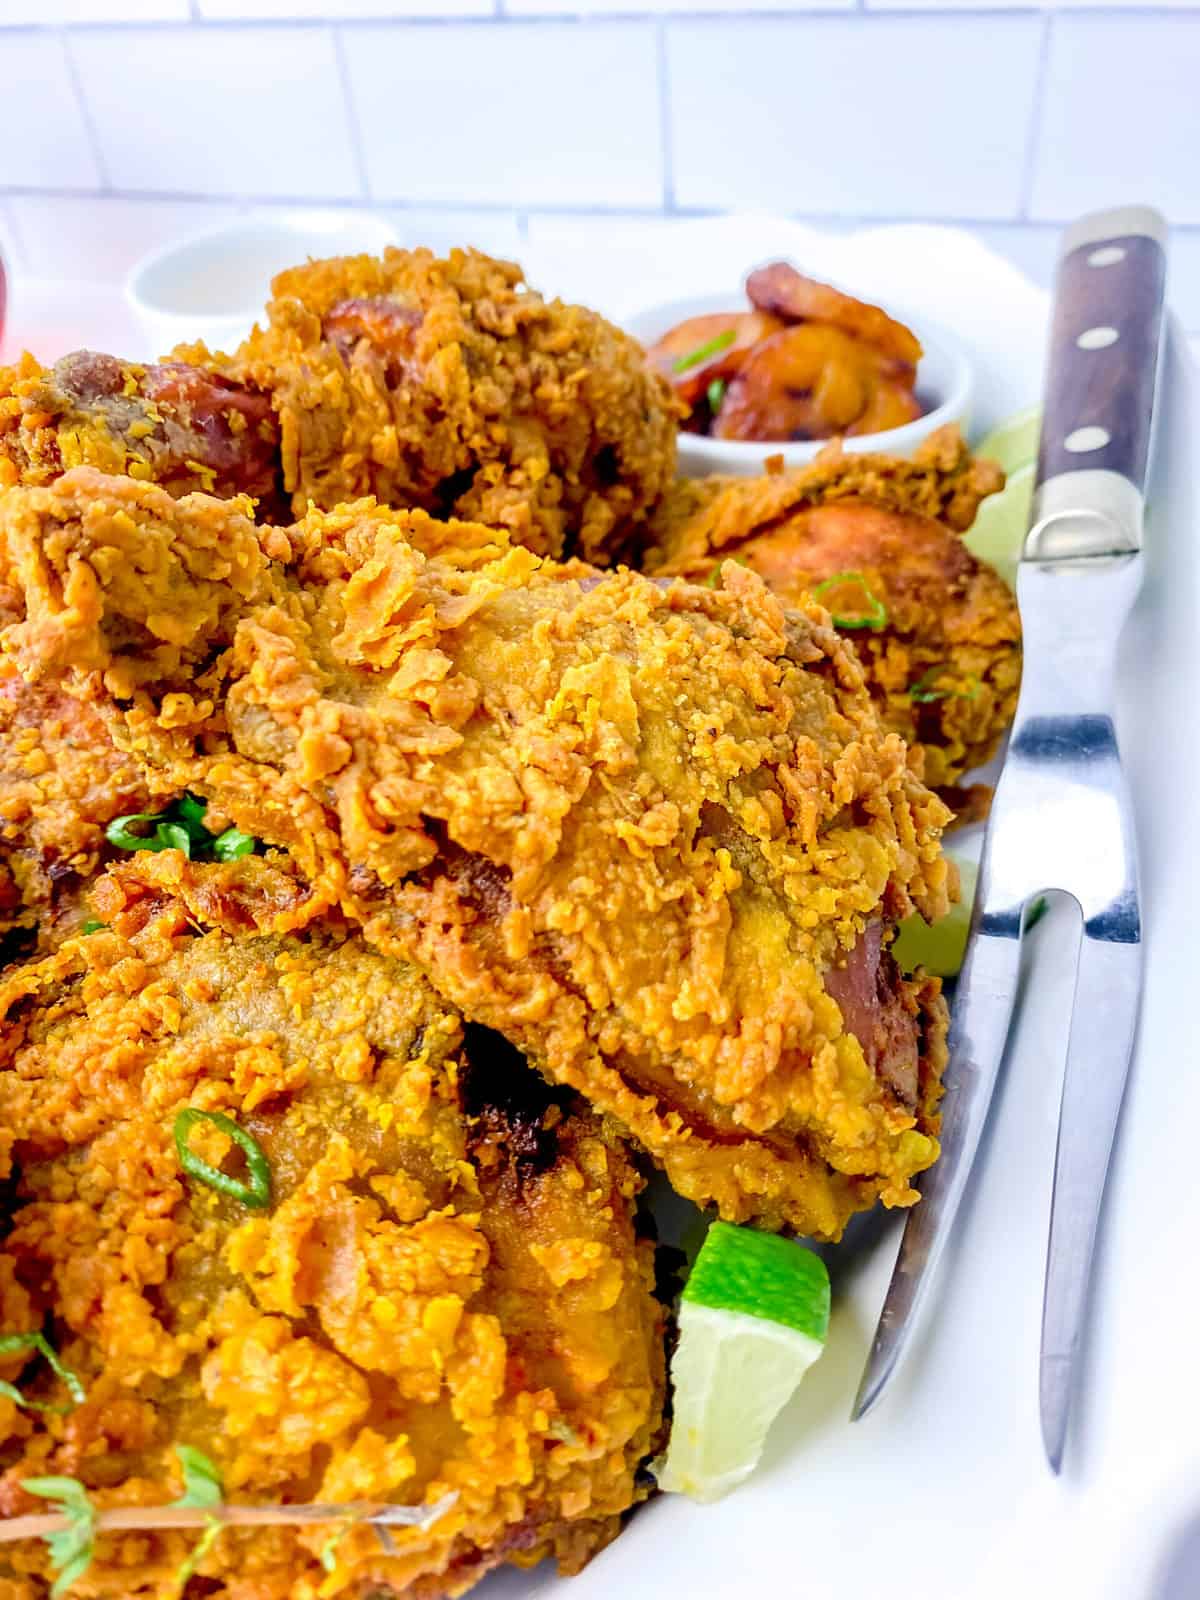
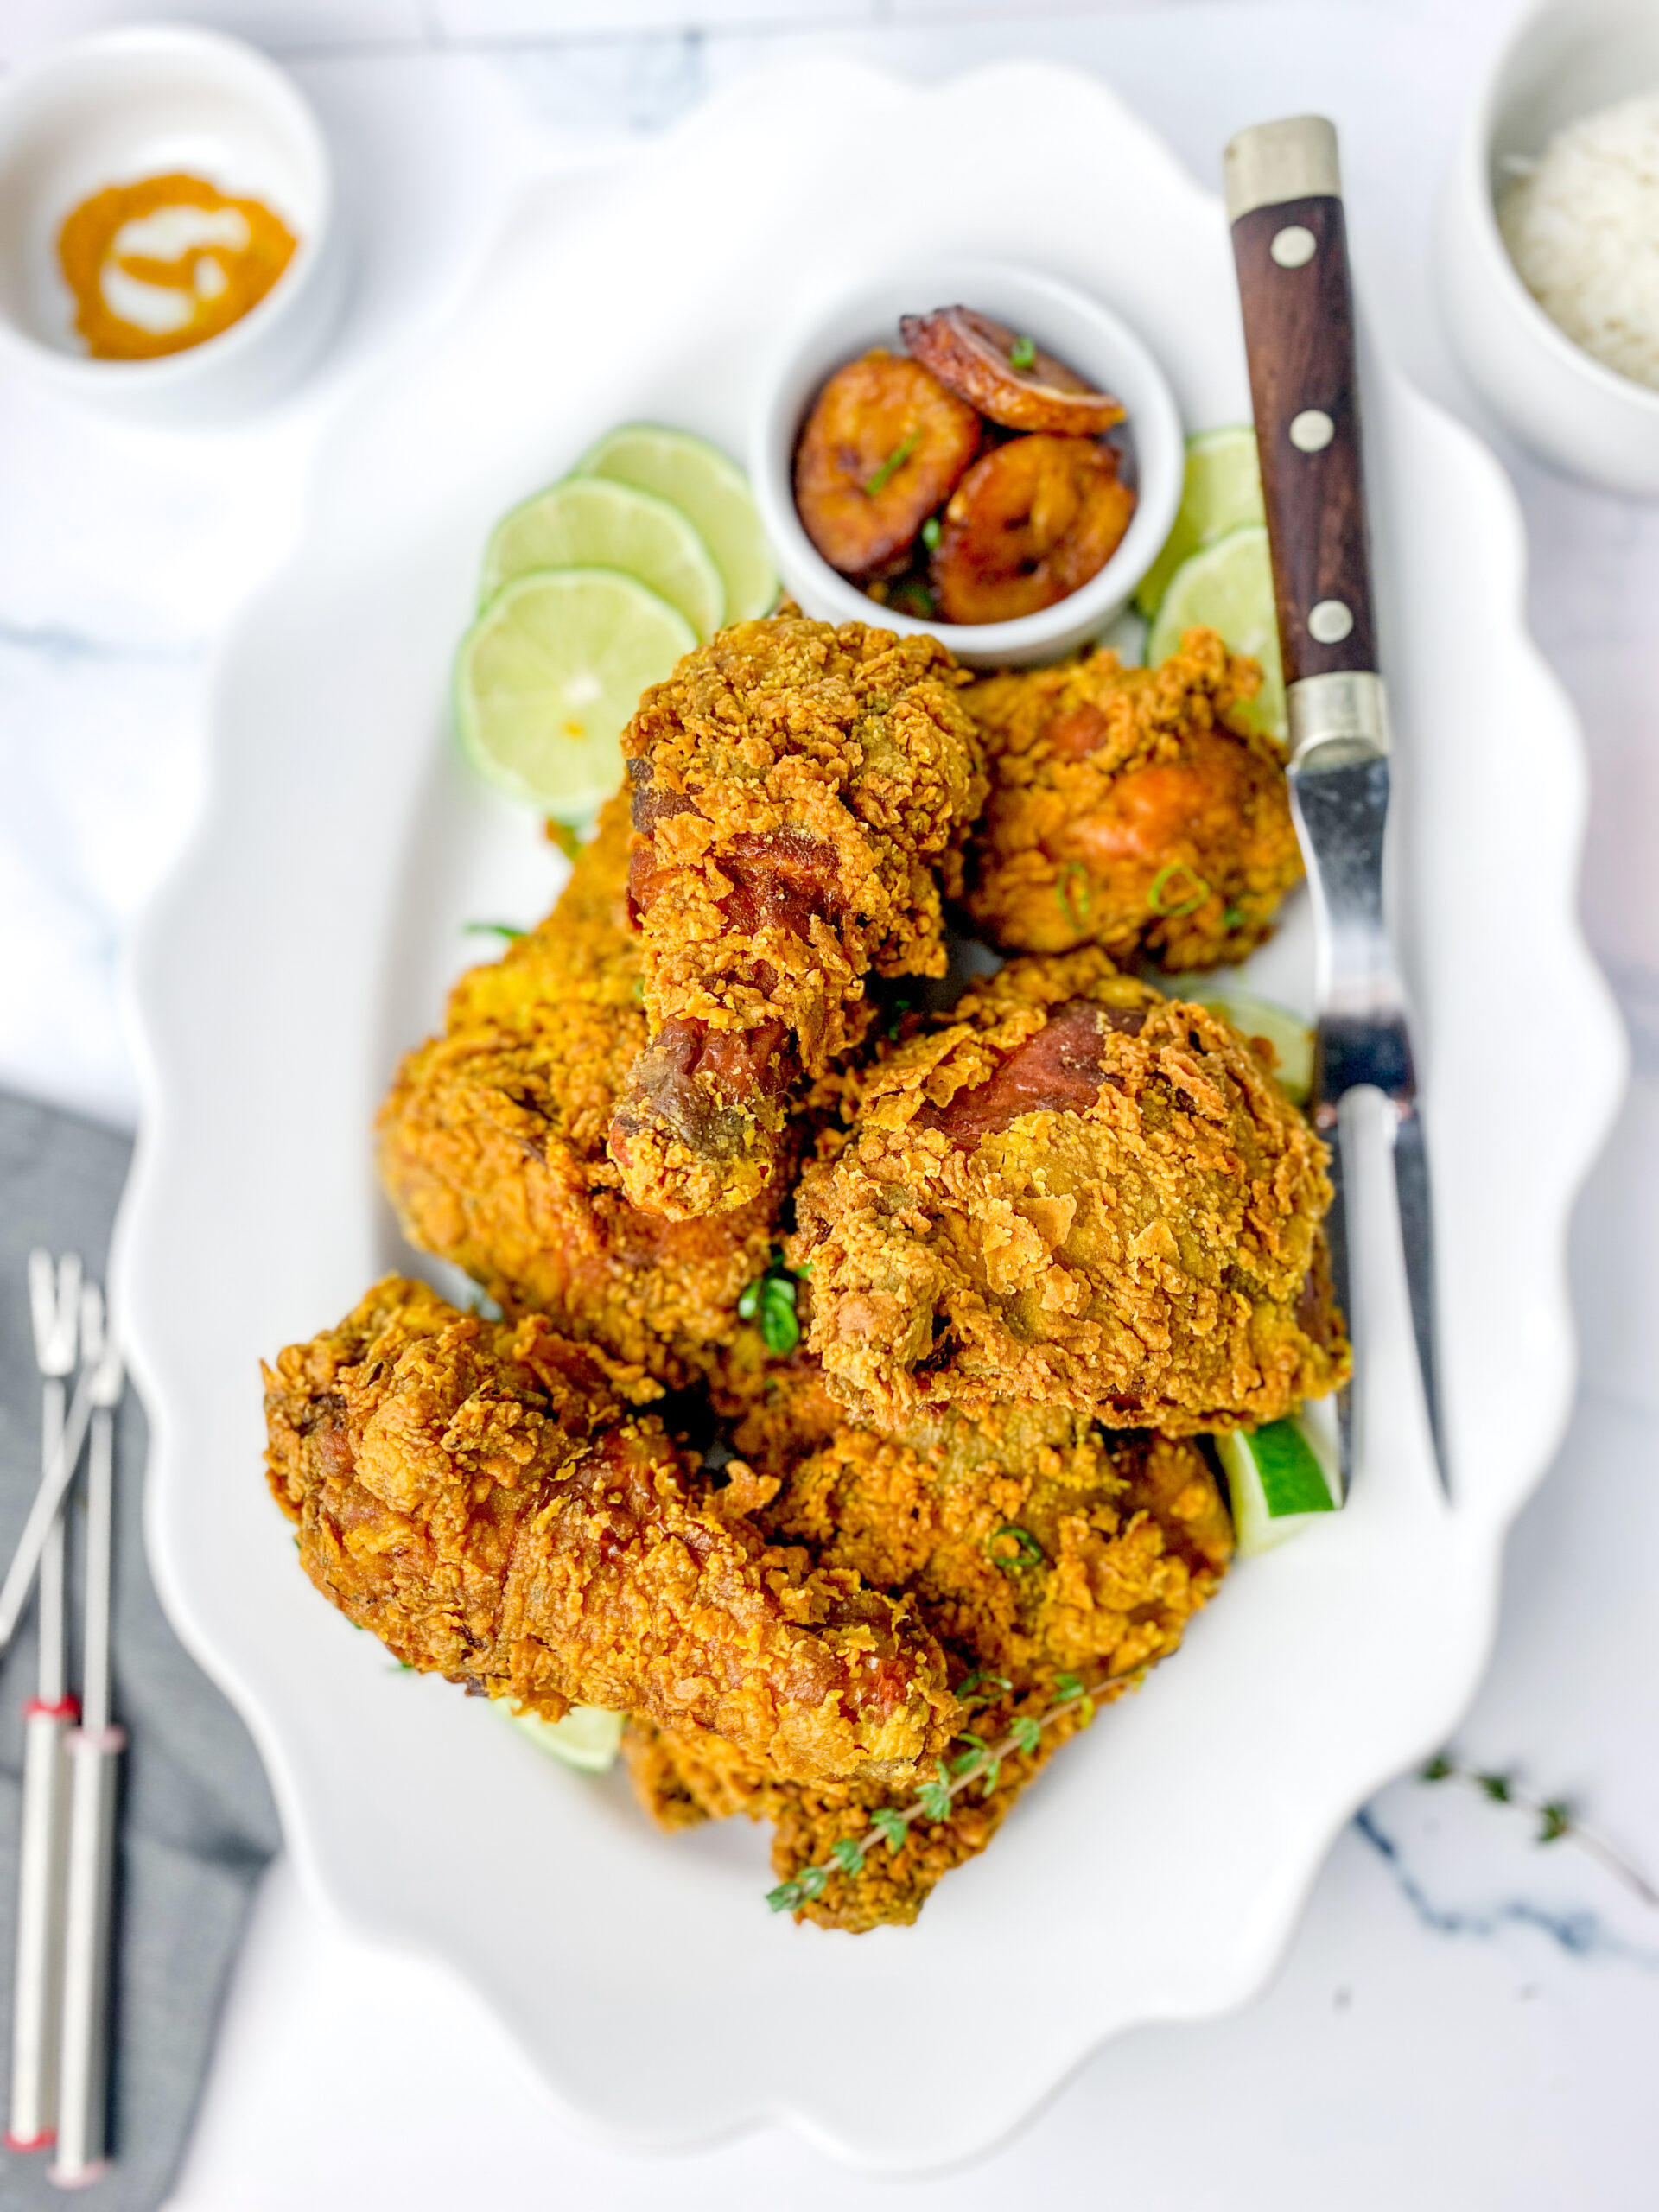
Are you ready to spice up your fried chicken game? Look no further than this delicious curry-fried chicken recipe! It’s the perfect combination of bold, flavorful curry and crispy, juicy fried chicken. It’s a Caribbean twist on a classic Southern dish that will have your taste buds dancing.
But what really sets this curry-fried chicken apart is the Jamaican curry powder. The curry powder not only adds a bold and flavorful kick but also provides a beautiful golden color to the chicken, and let’s be real, who doesn’t love a little spice in their life?
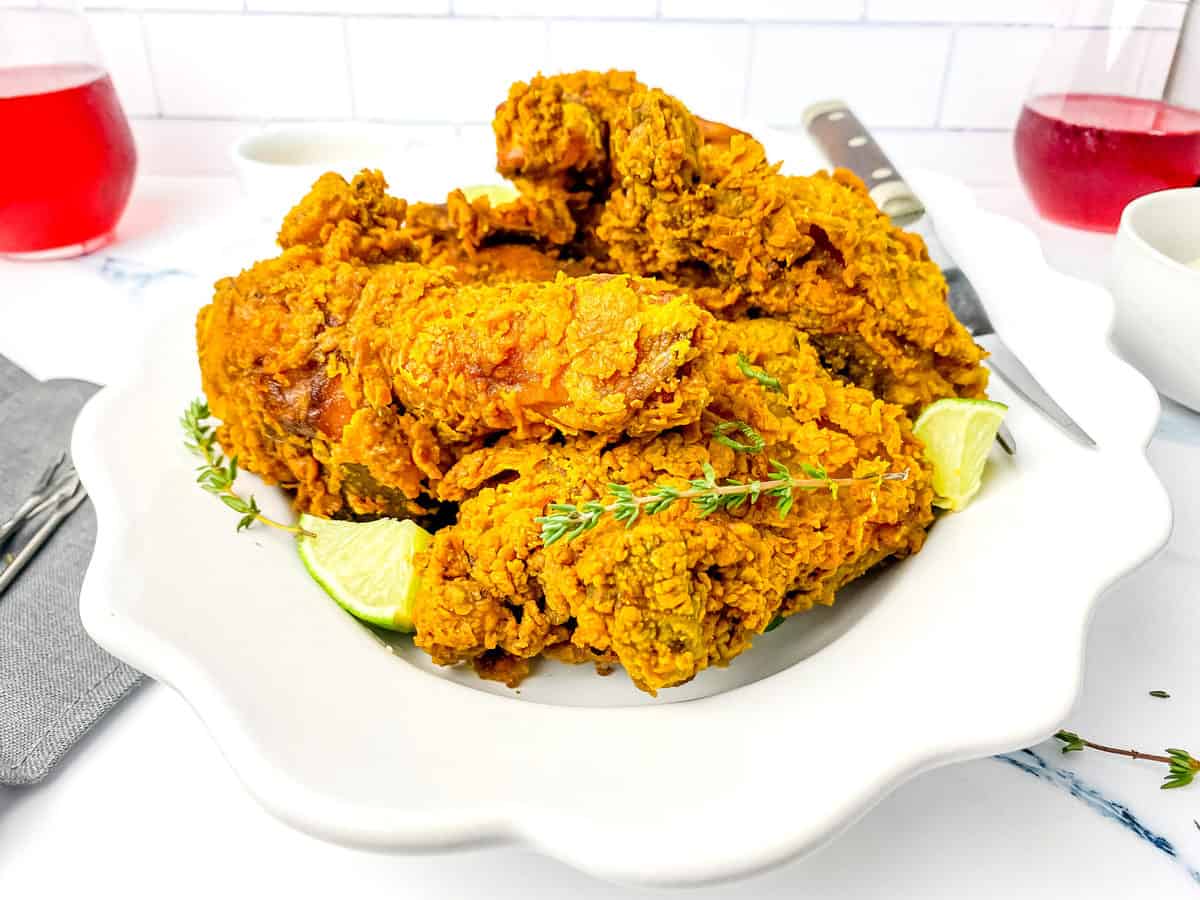
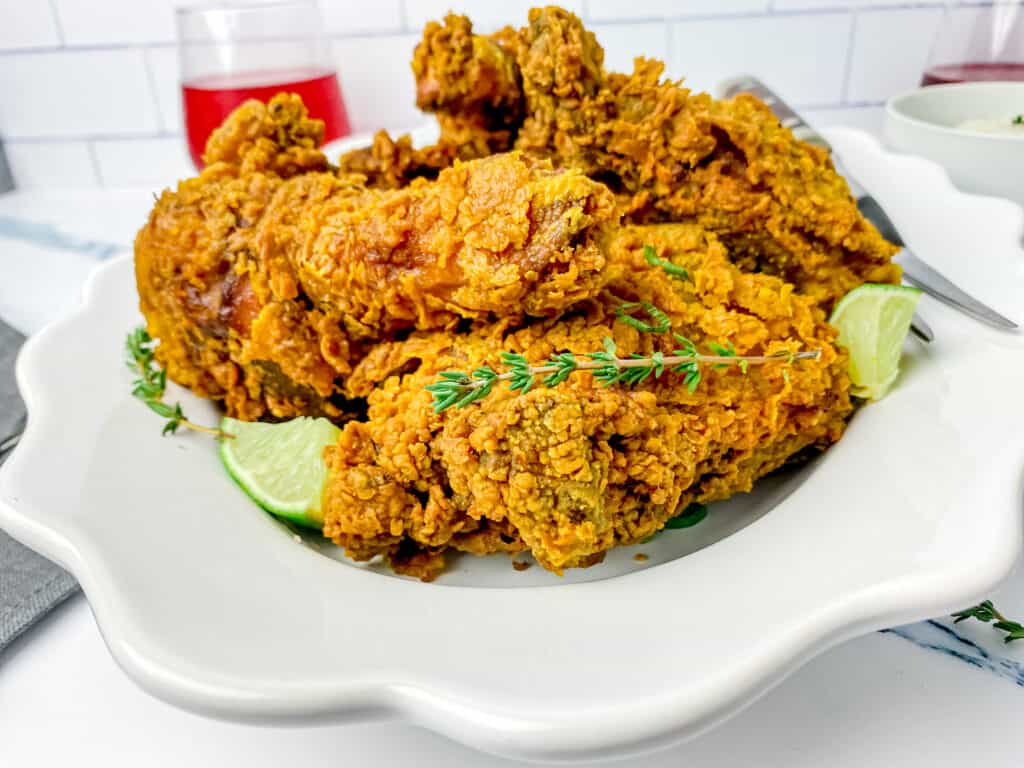
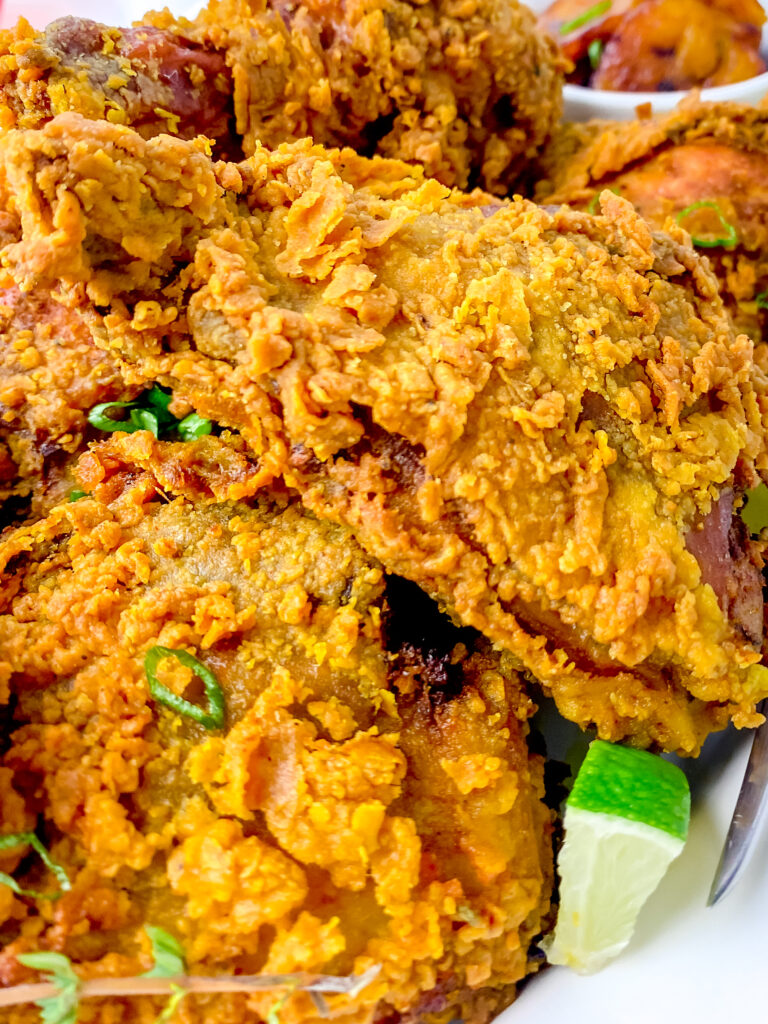
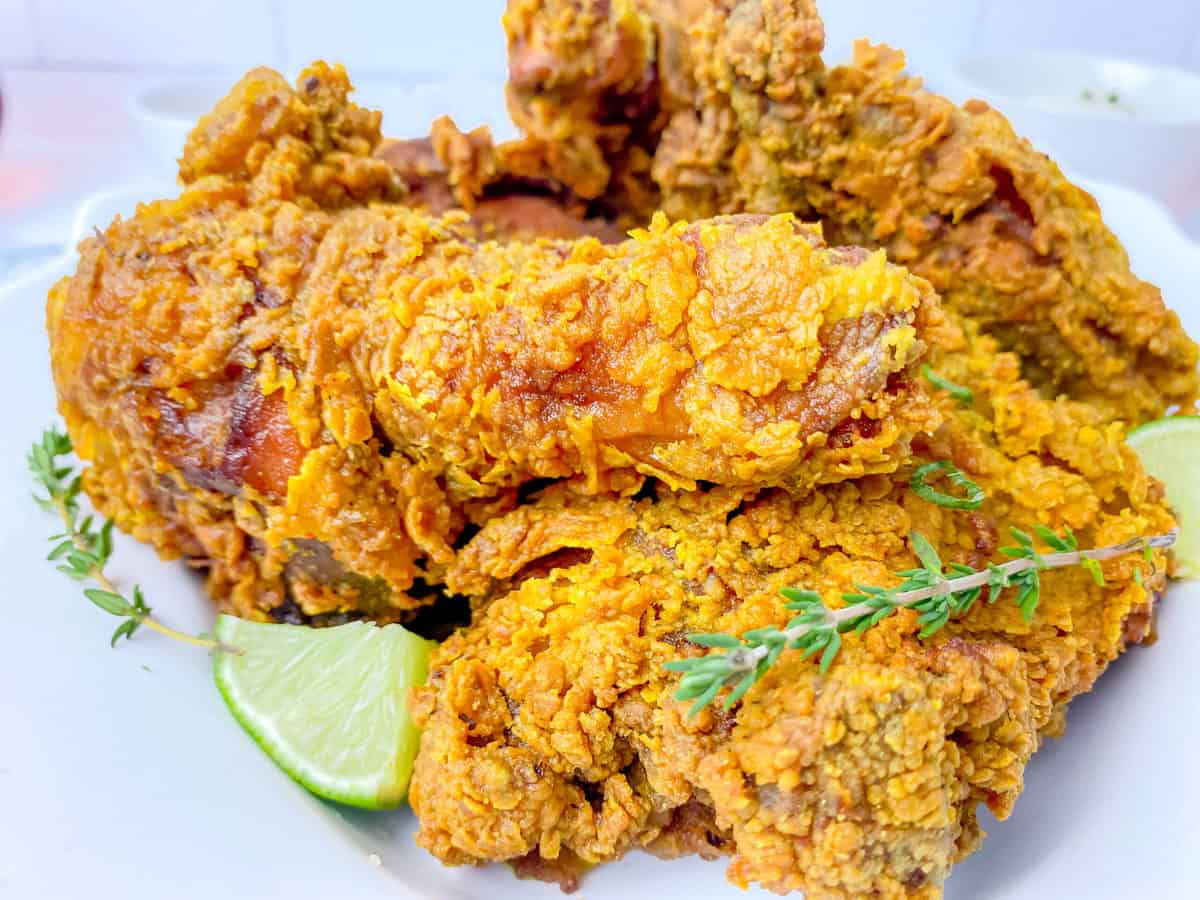
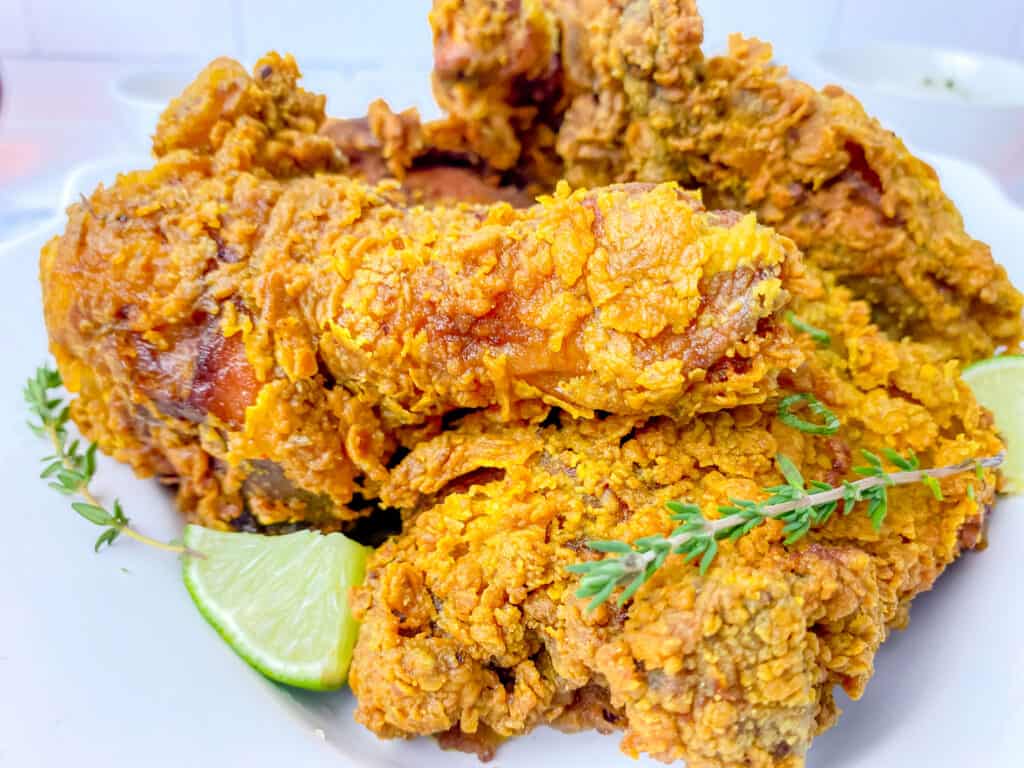
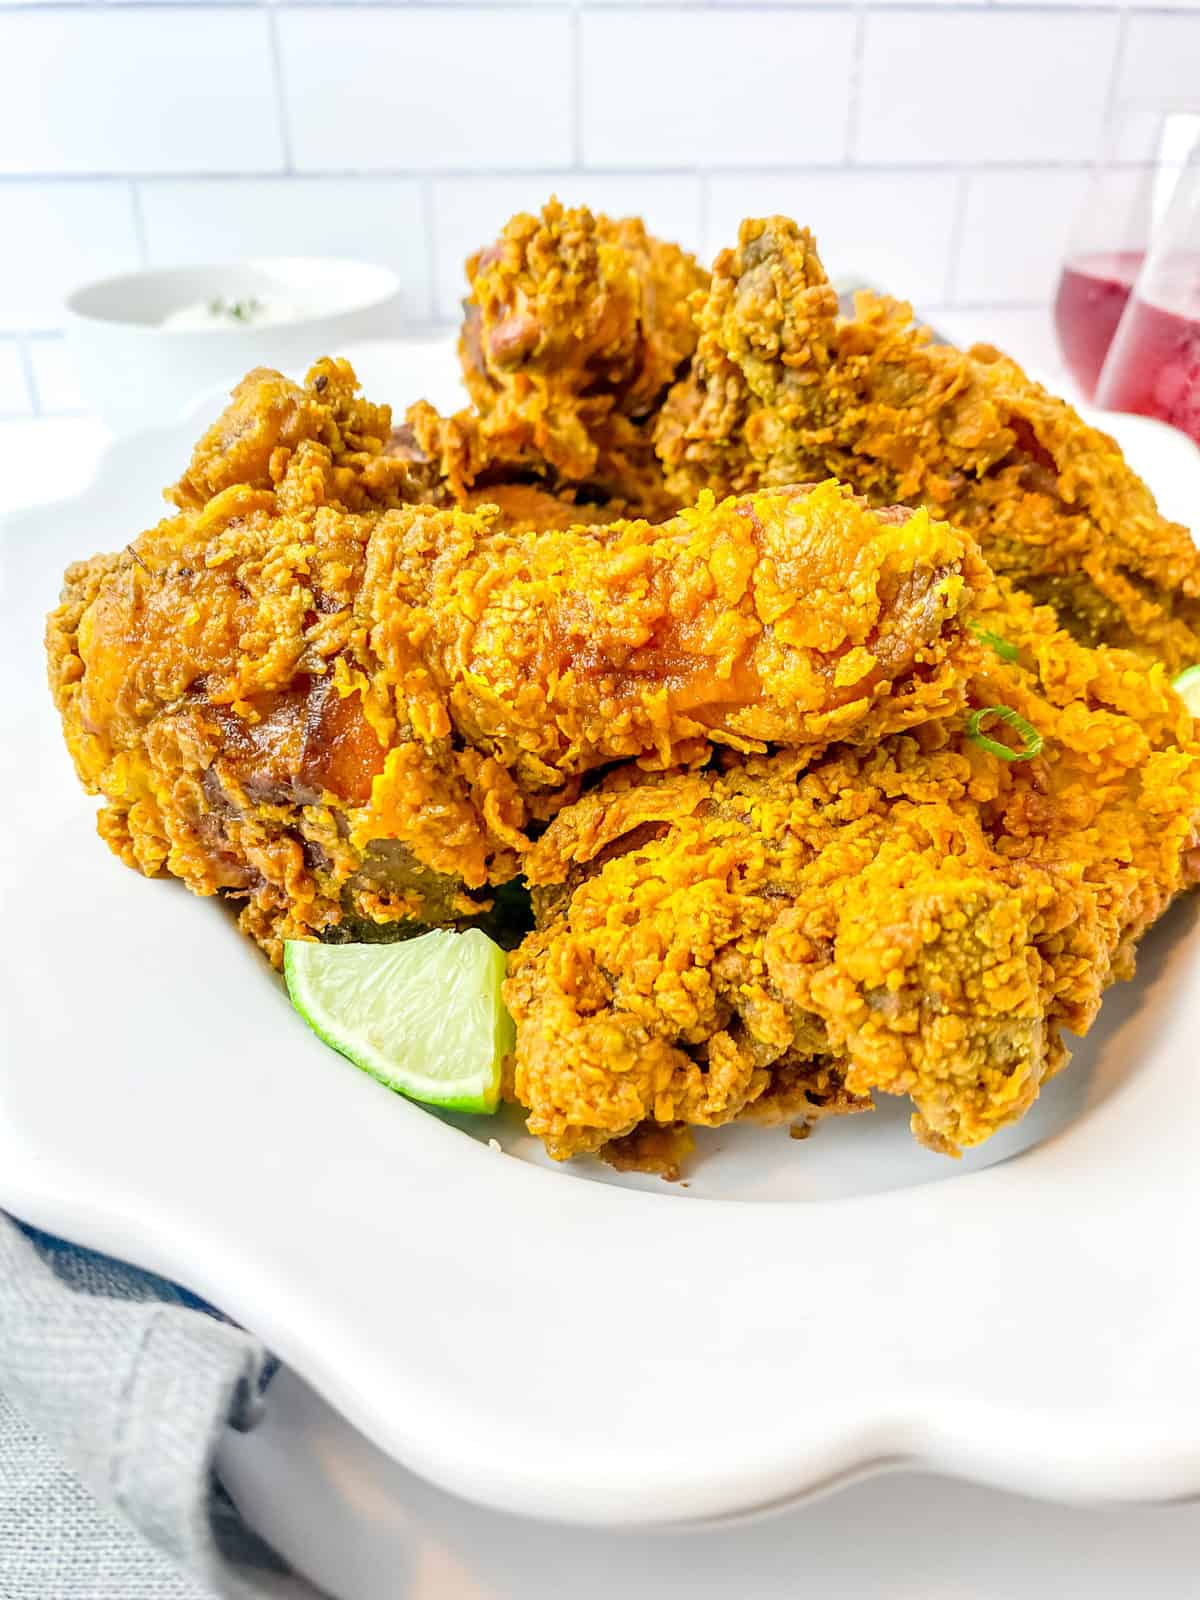
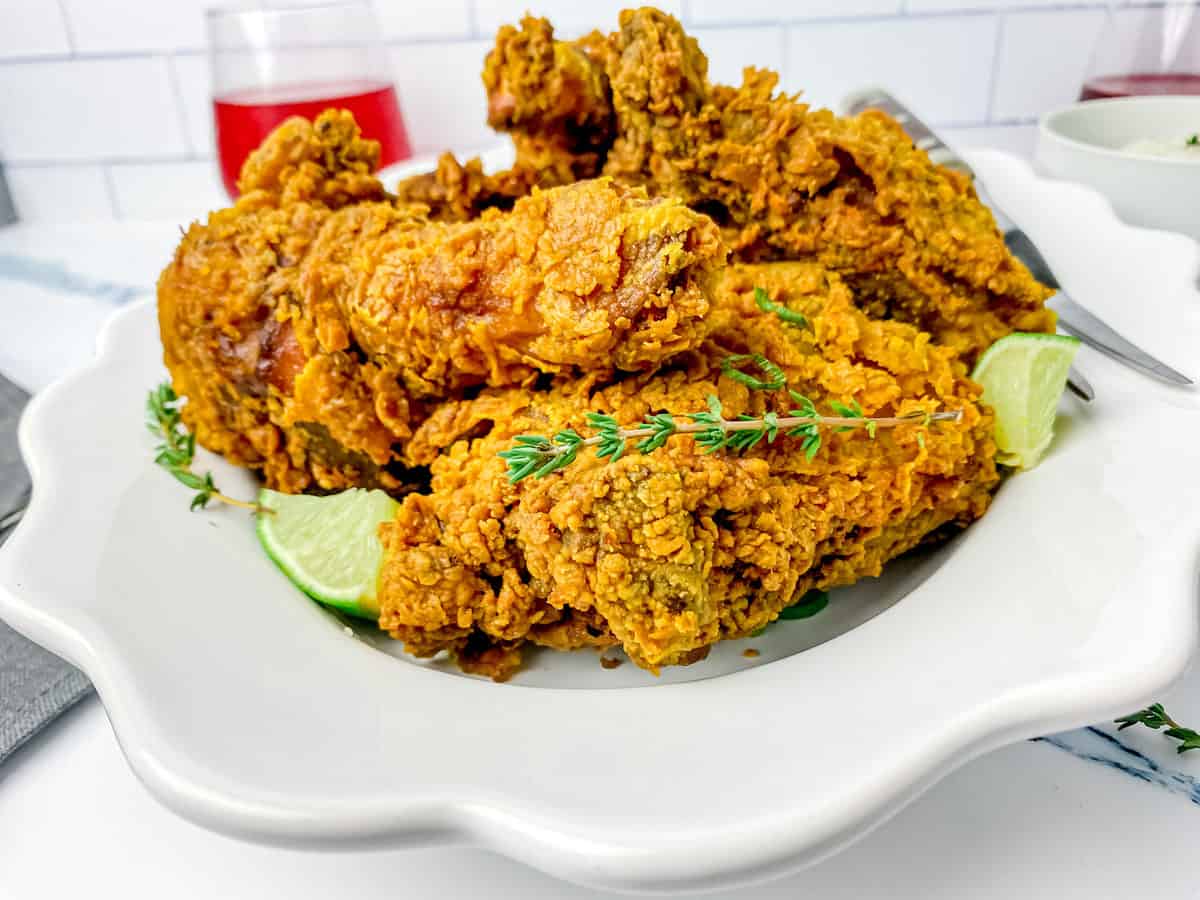
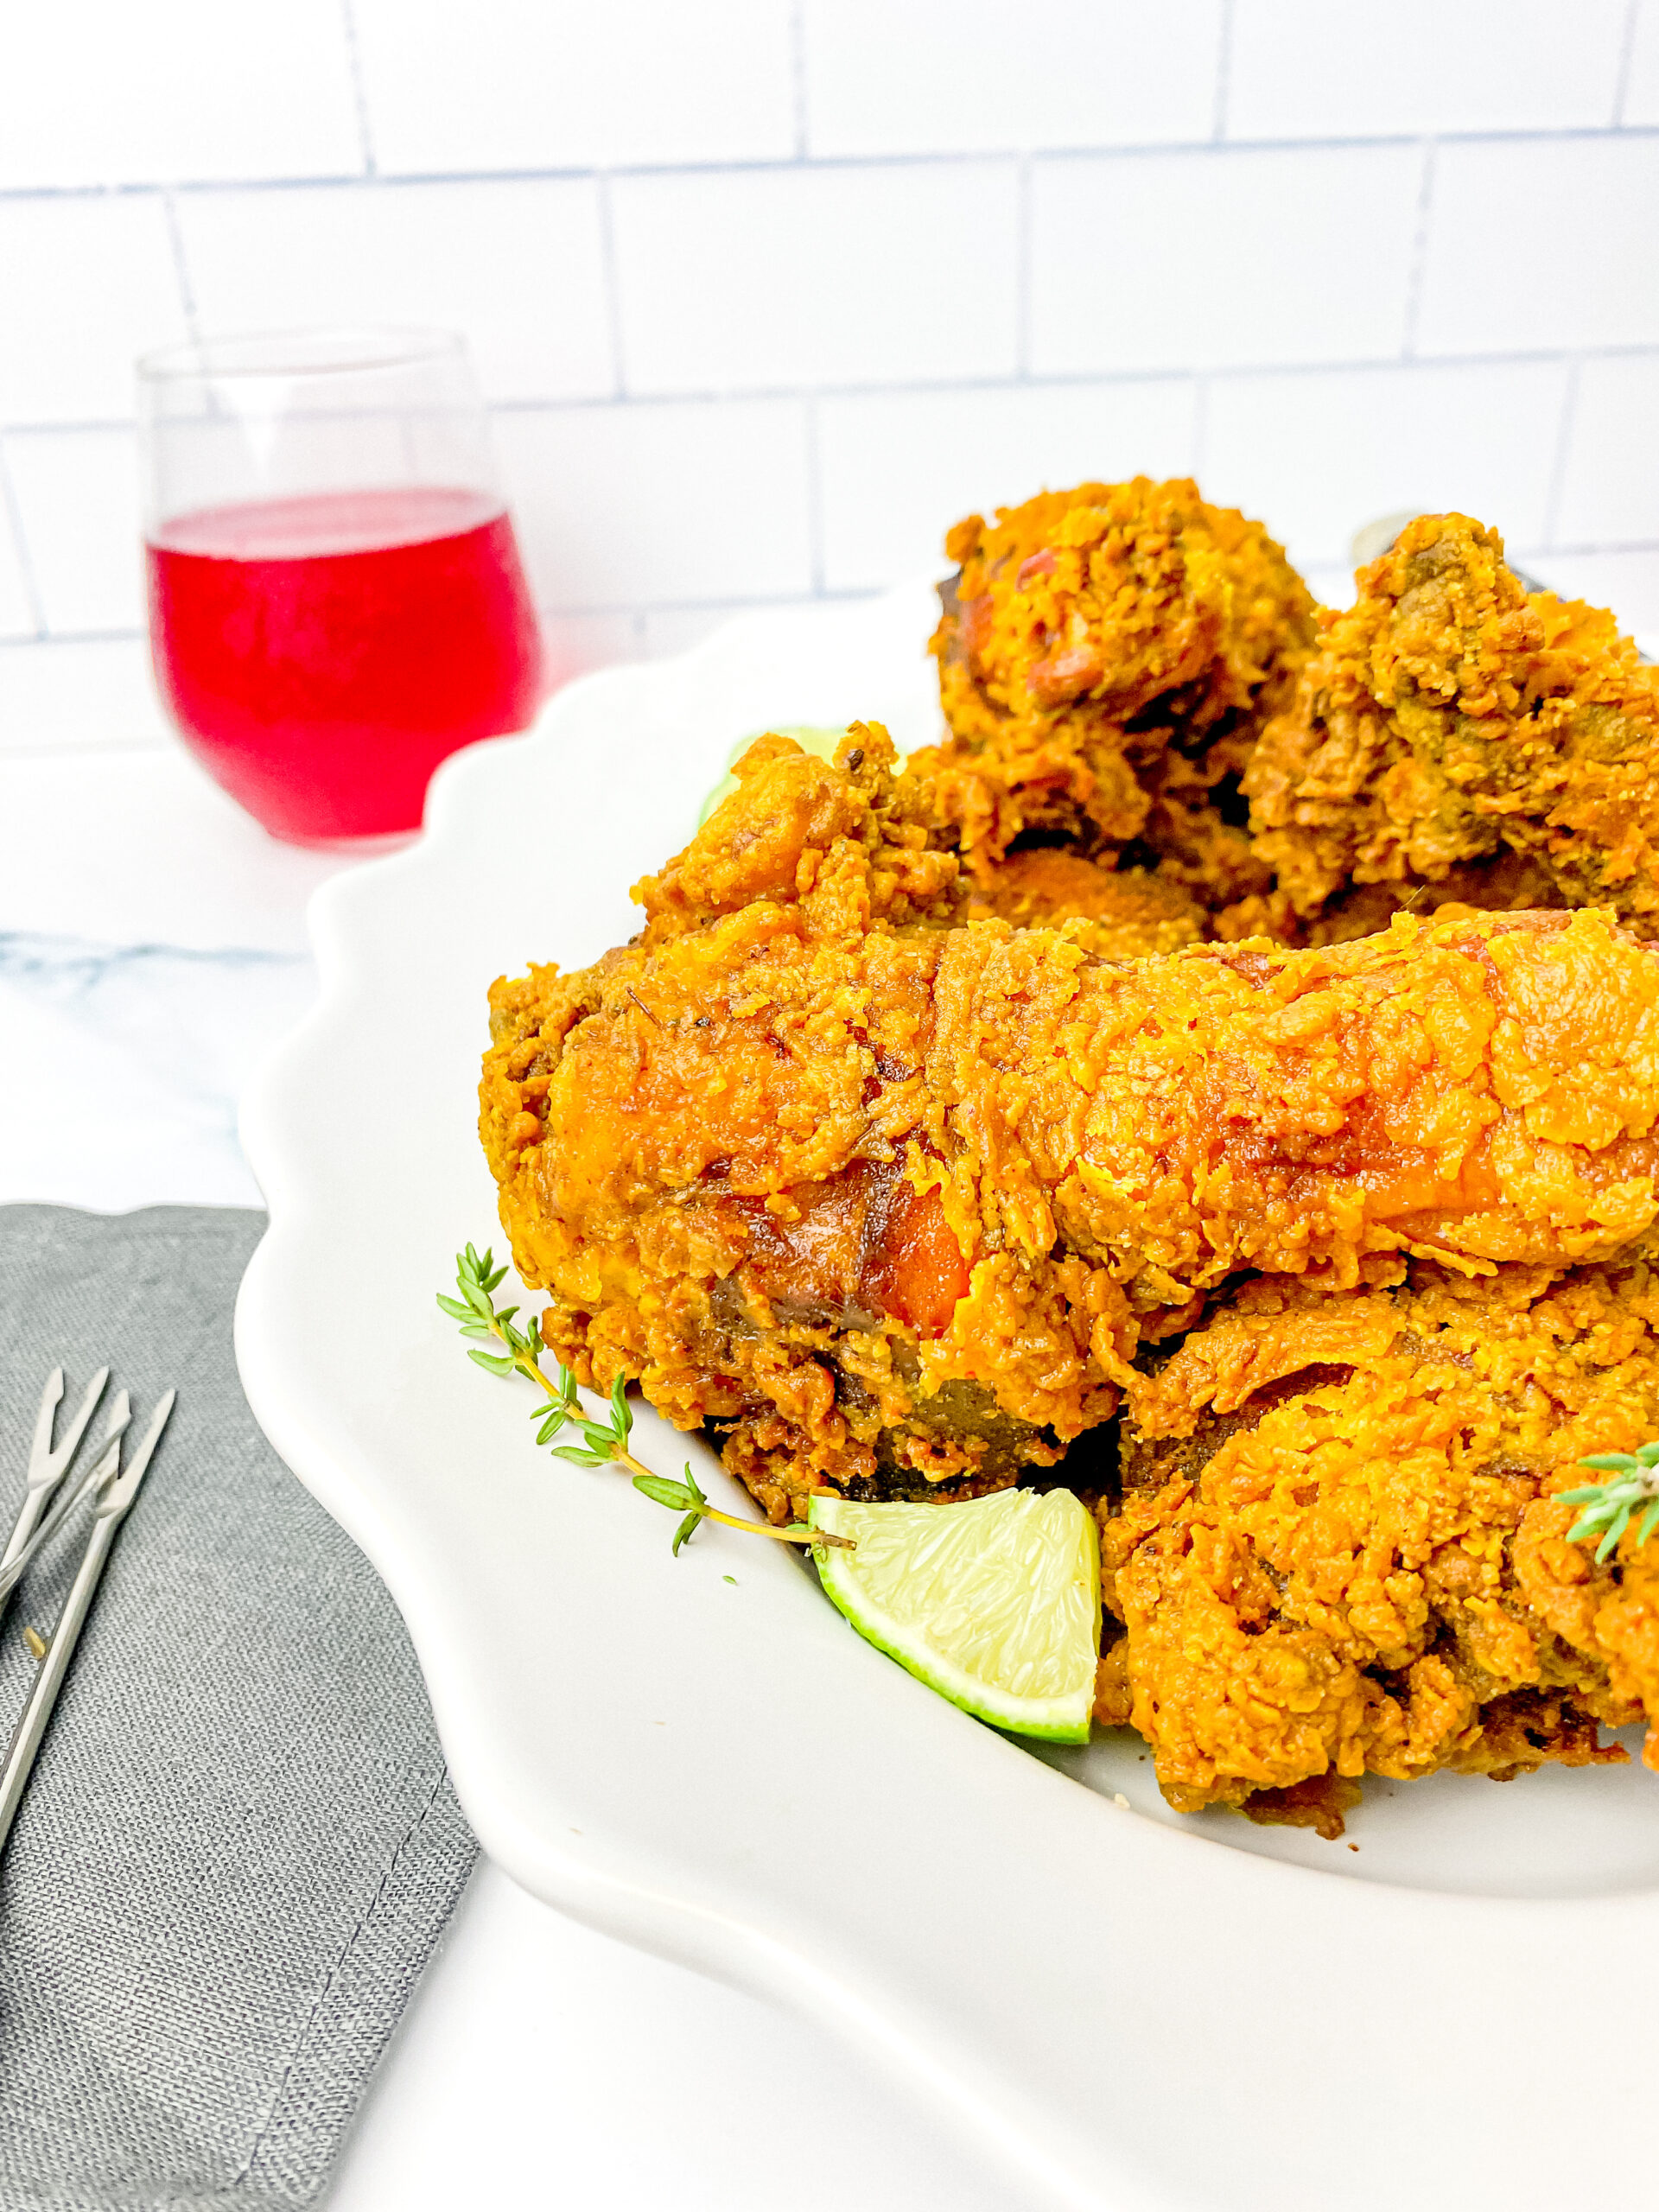
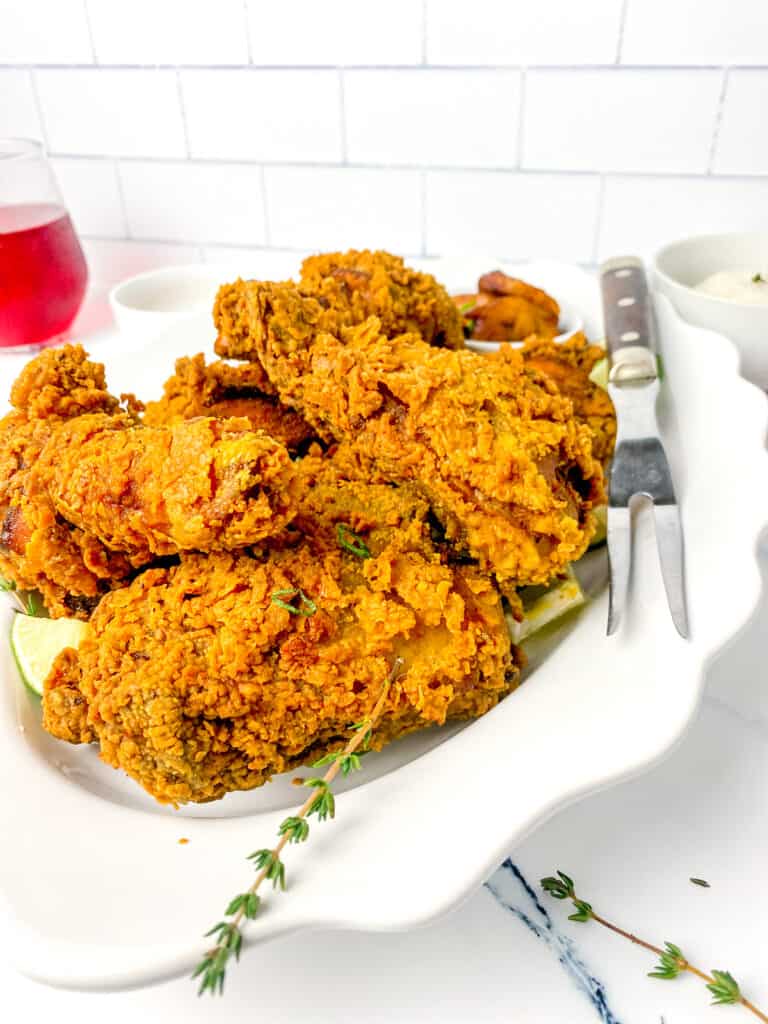
The key to making the perfect curry fried chicken is to choose the right ingredients and, of course, marinate the chicken overnight in a creamy coconut milk brine and a well-seasoned Jamaican curry mixture. Then, it’s tossed in a seasoned flour mixture and deep-fried to perfection. The result is crispy, golden brown, juicy, and the most flavorful fried chicken you’ve ever had.
I’m confident that this curry fried chicken recipe will quickly become a family favorite. It’s perfect for summer picnics, cookouts, brunches, and Sunday dinners. Don’t be intimidated by deep-frying, it’s easier than you think. Follow these tips and you’ll be a fried chicken pro in no time. And don’t forget the napkins, things are about to get messy!
Spice Up Your Fried Chicken Game: Introducing Curry Fried Chicken
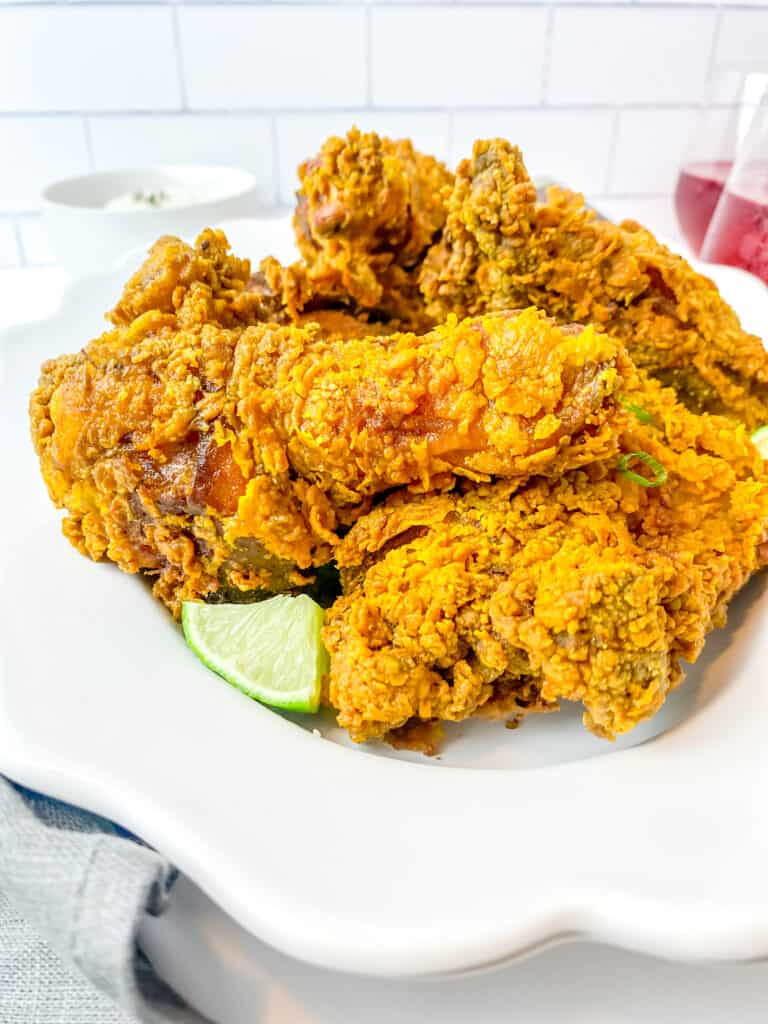
Curry fried chicken is a dish that combines the classic flavors of fried chicken with the bold spices and flavor of Jamaican-style curry. It’s a perfect blend of crispy, juicy, and spicy!
Looking for more curry recipes? Here are some favorites:
Jamaican Curry: The Flavorful Secret to the Best Curry Fried Chicken
Jamaican curry powder is a mix of spices and seasonings that are often used to add flavor and color to dishes in Jamaican cooking. It typically includes ingredients such as turmeric, cumin, coriander, ginger, cinnamon, and allspice. Jamaican curry powder is known for its bold flavor, which is a mix of sweet, savory, and spicy. It is a common ingredient in many Jamaican dishes, like curry chicken, curry goat, and curry shrimp.
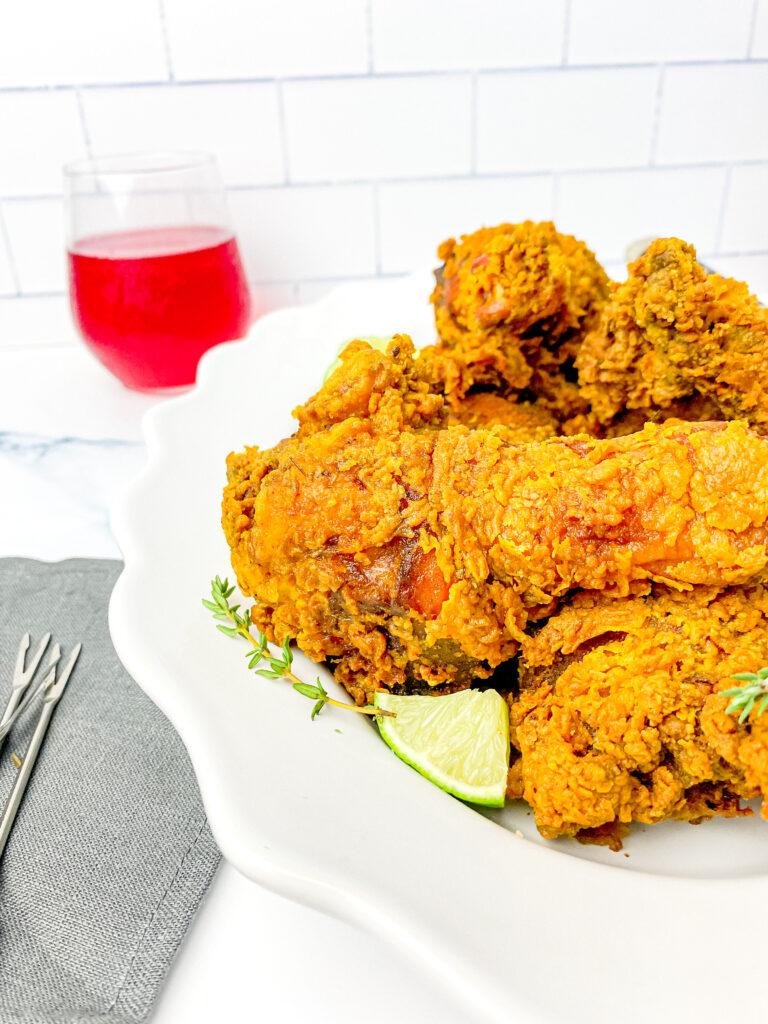
Jamaican Curry: A Flavorful Journey Through Time and Culture
Jamaican curry has its roots in the Indian spices and techniques brought to the Caribbean by Indian immigrants. Over time, these spices were combined with local ingredients and techniques to create a unique blend that is now known as Jamaican curry. It’s known for its bold and flavorful taste and its use in many Caribbean dishes.
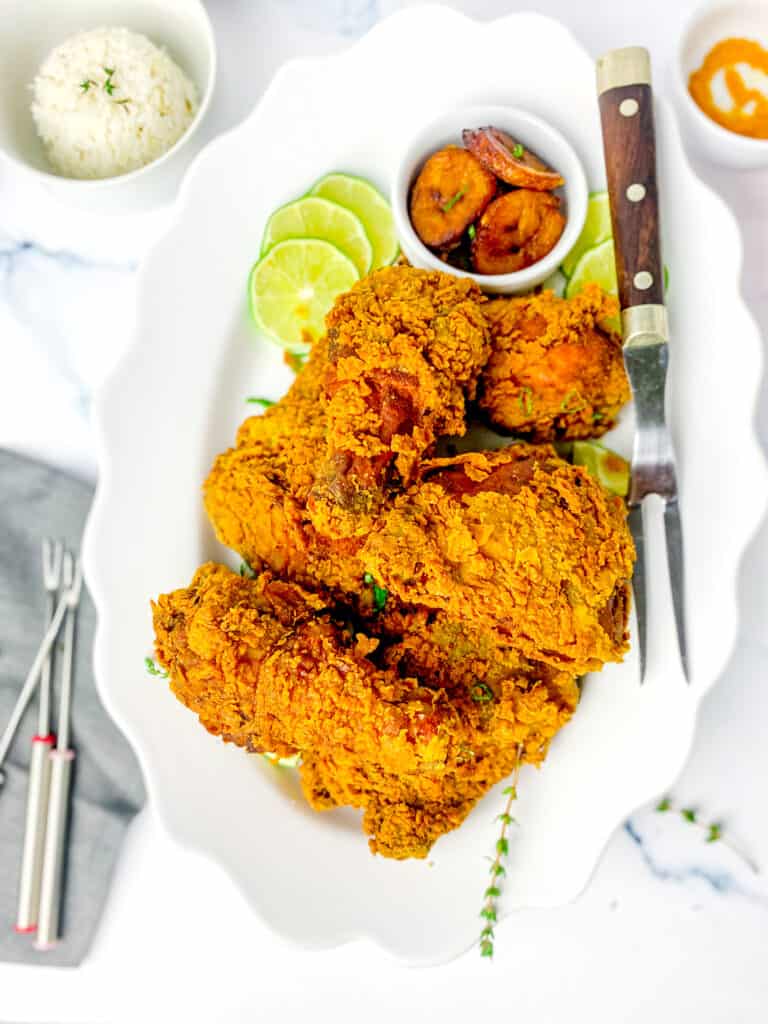
Jamaican Curry vs. the Rest: What Sets it Apart
Jamaican curry is a unique blend of spices that sets it apart from other types of curry. It typically includes ingredients like allspice, ginger, thyme, and scotch bonnet peppers, which give it a bold and flavorful kick.
Other curries, like Indian or Thai curries, may have different ingredients and flavor profiles. For example, Indian curries often include a blend of spices like cumin, coriander, and turmeric, while Thai curries may include lemongrass, galangal, and kaffir lime leaves. So, while all curries are delicious, Jamaican curry has its own distinct taste that sets it apart from the rest.

Finding Jamaican Curry Powder Near You
When it comes to making the perfect curry fried chicken, the key ingredient is, of course, Jamaican curry powder. But where can you find it? Well, look no further than your local Caribbean grocery store. These stores typically carry a variety of Jamaican curry powders, as well as other Caribbean ingredients and spices.
If you don’t have access to a Caribbean grocery store, you can also find Jamaican curry powder at many larger supermarkets or online. Some popular Jamaican curry powder brands include Grace, Blue Mountain Country, and my personal favorite, Betapac.
Betapac curry is known for its bold and authentic Jamaican flavor, and it’s the perfect choice for this curry fried chicken recipe. You can find it online and in some Caribbean grocery stores. I highly recommend giving it a try, you won’t be disappointed!
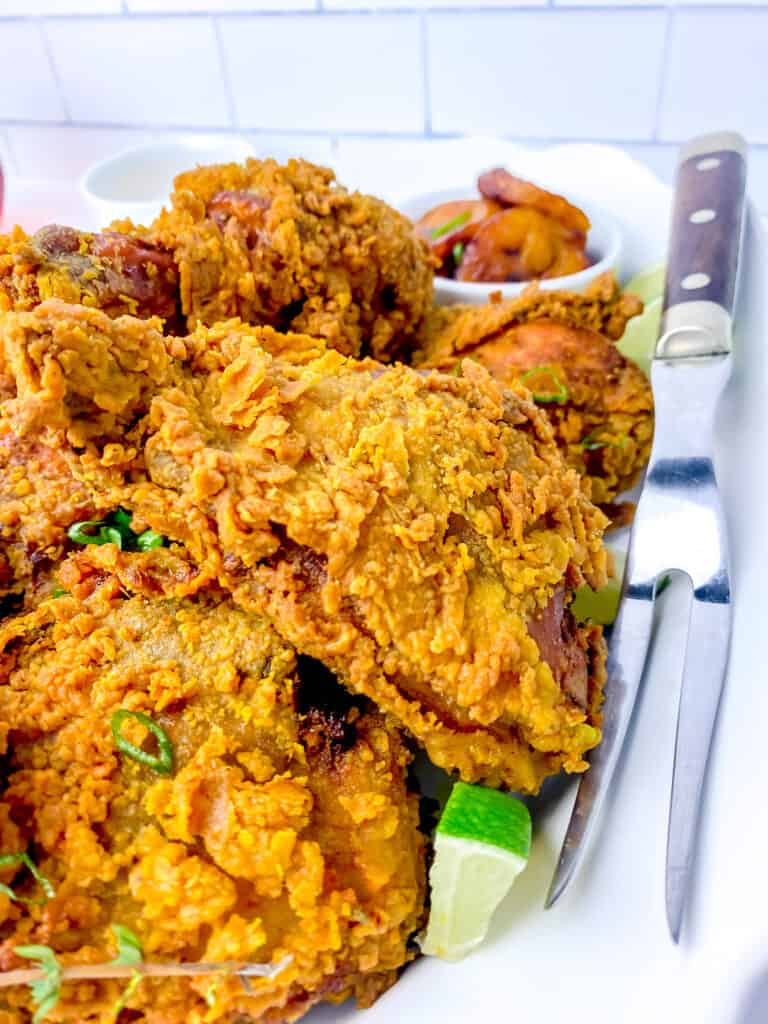
The Secret to Extra-Crispy Fried Chicken Revealed
- Cornstarch Is the secret to the crispiest fried chicken. Seriously, it’s my secret weapon. Cornstarch is typically used as a thickening agent for sauces and gravies. Still, when paired with all-purpose flour, cornstarch helps prevent gluten development, making the flour coating so much crispier. To achieve extra crispy curry fried chicken, try replacing 1 cup of flour with cornstarch. For example, for every 2 cups of flour, add 1 cup of cornstarch. You’ll find yourself with extra crispy chicken, with minimum extra effort!
- Double Dip the chicken in the flour for that extra crunch (flour, rest for five minutes, then back in the flour). It’s definitely worth the extra step.
- Rest the breaded chicken for five minutes before frying. This allows the coating to stick to the chicken to produce that really crusty crust we love and krave.
- Use a neutral oil with a high smoke point.
- Don’t overcrowd the pot or fryer. Adding too many pieces will lower the temps 350 degrees Fahrenheit is the optimal frying temperature – maintain it consistently throughout the frying process.
- Once the chicken has reached its desired doneness, please remove them from the fryer. Do not allow them to sit and soak up the oil.
- Allow the fried chicken to rest on a wire rack lined with paper towels to ensure that they were not greasy and retained its crunch.
- The best temperature to serve fried chicken is at room temperature or slightly warm. This allows the flavors and spices to fully develop and the crust to be crispy and not soggy. It also ensures that the chicken is not too hot to burn your mouth or too cold to lose its flavor. It’s important to let the chicken cool for a few minutes after frying to prevent any steam from building up and softening the crust.
- Don’t be intimidated by deep-frying, it gets easier over time.
Looking for More Chicken Recipes ? Here are some favorites.
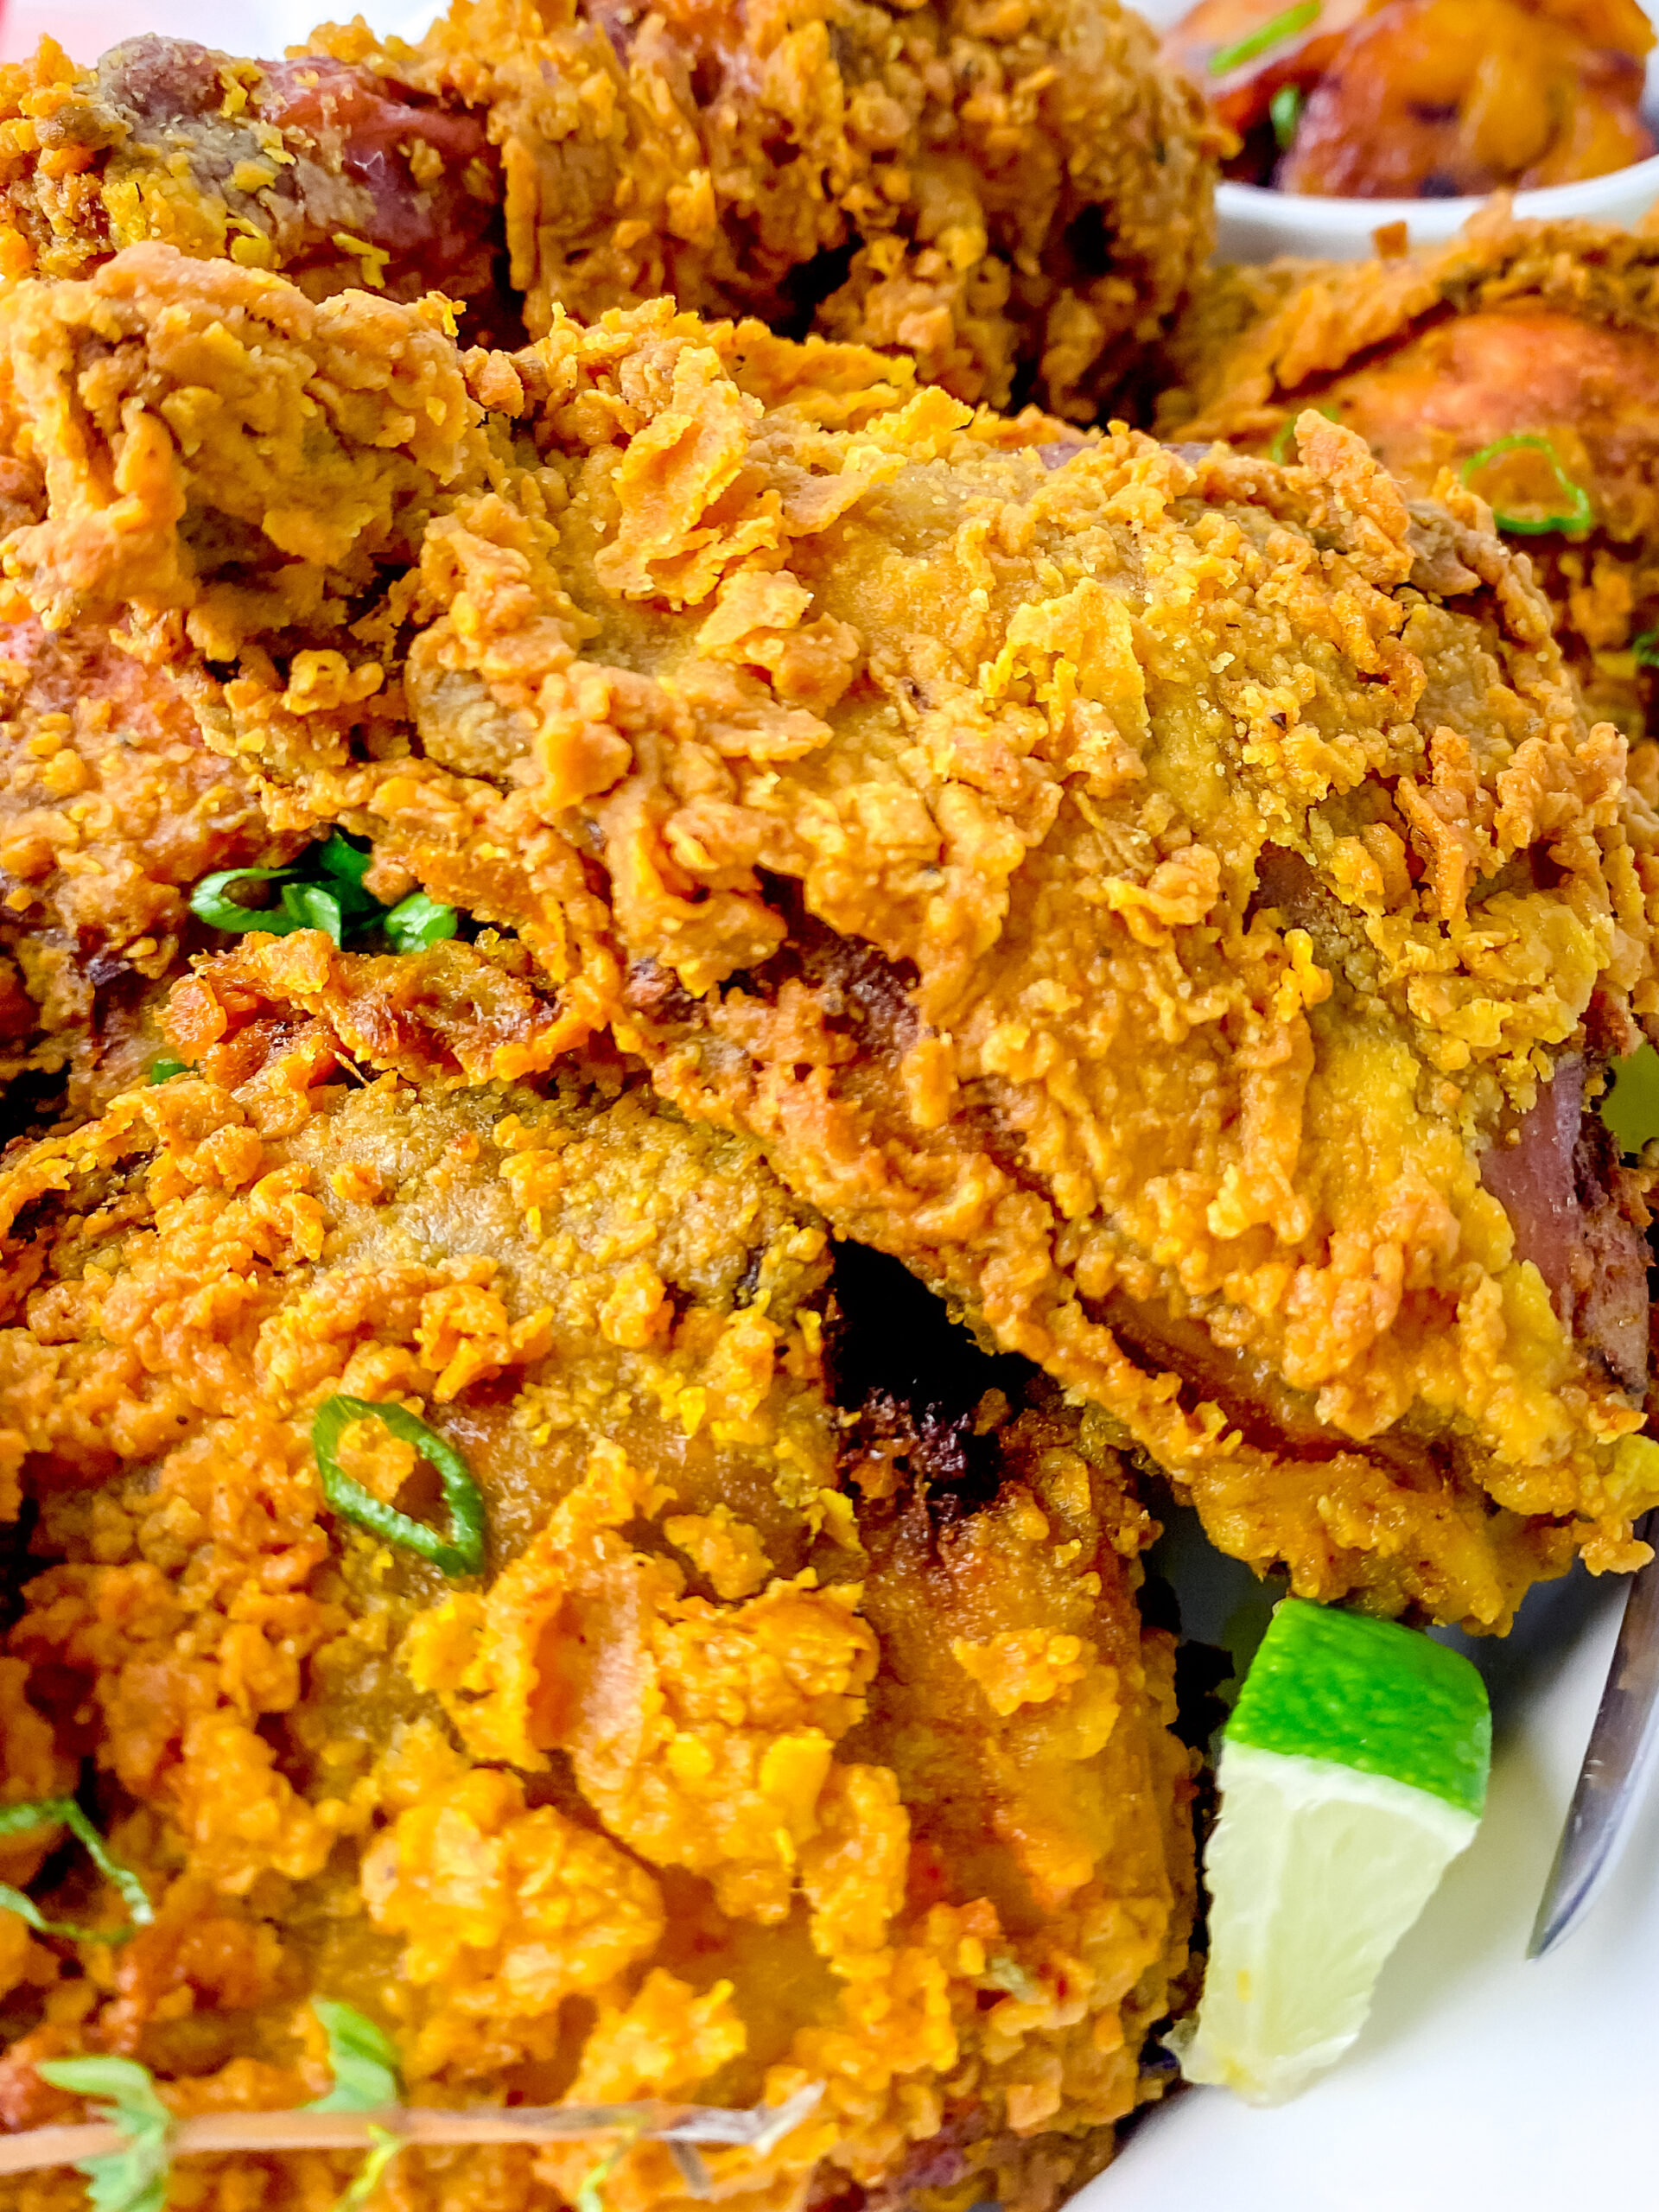
A Cultural Practice: The Reason Behind Jamaicans Washing Meat Before Cooking
Jamaicans, like many cultures, wash their meat before cooking as a way to clean it and remove any debris, impurities, or unwanted odors from the meat before cooking. It is also a cultural practice that has been passed down through generations as a way to prepare meat for cooking.
Additionally, some people believe that washing meat before cooking can also help to improve the taste and texture of the meat.
Meat Washing: A Tradition Rooted in Culture and Practicality
The origin of this practice is likely rooted in a combination of cultural and practical reasons.
Historically, in Jamaica and other Caribbean islands, meat was often purchased from local farmers or butchers, who may not have had the same level of sanitation and cleanliness standards as modern meat processing facilities.
Washing meat before cooking was a way to ensure that any dirt, debris, or bacteria present on the meat was removed. Additionally, Jamaica is a tropical island, with high humidity and warm temperatures, which can cause the meat to spoil more quickly if not properly cleaned.
It is also likely that the practice of washing meat before cooking was passed down through generations as a way to prepare and cook the meat, making it a cultural tradition.
Meat Prep 101: The Key to Safe Cooking is in the Cleanup
Cleaning up after washing meat is an important step to prevent the spread of bacteria and other harmful pathogens. Here are some guidelines for cleaning up after washing meat:
- Start by washing your hands thoroughly with soap and warm water for at least 20 seconds.
- Dispose of any wrapping or packaging materials from the meat in a sealed trash bag.
- Rinse the sink and any other surfaces that have come into contact with the raw meat with hot, soapy water. Use a clean cloth or sponge to scrub away any remaining debris.
- Rinse the sink and surfaces again with hot water to remove any remaining soap or bacteria.
- Sanitize the sink and surfaces by wiping them down with a solution of 1 tablespoon of chlorine bleach per gallon of water.
- Dry the sink and surfaces with a clean, disposable towel, or let air dry.
- Wash any utensils, cutting boards, or other items that have come into contact with the raw meat in hot, soapy water, then rinse and sanitize them as well.
- Finally, wash your hands again with soap and warm water for at least 20 seconds.
INGREDIENTS RUNDOWN
Ingredients to Make this Curry Fried Chicken Recipe
Poultry
Chicken quarters, bone-in, skin-on, and separated – main ingredient
Spices & Herbs
Jamaican Curry Powder – brings the Caribbean vibes and flavor.
Ground Turmeric Powder – adds a warm and earthy flavor to the dish, as well as a vibrant yellow color.
Onion Powder – adds a subtle sweetness and depth of flavor to the dish.
Garlic Powder – adds a sharp and aromatic flavor to the dish.
Smoked Paprika (or regular) – adds a smoky and slightly spicy flavor to the dish.
All-purpose seasoning – a blend of seasoning that’s used to add depth of flavor and balance out the other spices.
Salt – rounds out all the other flavors
Cracked Black Pepper – adds a mild heat
Whole Pimento Seeds(allspice berries) – add a subtle sweetness and depth of flavor to the dish.
Fresh Thyme Leaves or dry thyme leaves – adds a fresh and earthy flavor to the dish.
Dry bay leaves – you can use fresh bay leaves as well.
Caribbean Green Seasoning – This is a blend of herbs and spices that’s used to add depth of flavor to Caribbean dishes.
Jerk Seasoning – blend of spices that’s used to add heat and a unique Jamaican flavor to the dish.
Oils
Extra Virgin Oil (or your choice of vegetable oil) – create a marinade for the chicken, which helps to keep it juicy and flavorful.this is added to the marinade to keep the meat moist and helps to massage the spices into the meat.
Oil for frying – used to fry the chicken plus helps to create that crispy texture. Use a neutral vegetable oil with a high smoke point. DO NOT use extra virgin olive oil.
Liquids
Unsweetened Coconut Milk – add a rich and creamy flavor to the dish. add moisture and its the liquid base for the brine. It will also add a very subtle coconuty flavor to the fry chicken.
White distilled vinegar, lemon or lime juice – used to rinse the chicken
Cool tap water – to rinse the chicken in.
Starches
All-purpose flour – creates the crusty coating on the chicken.
Cornstarch gives that crispy crust that we krave.
Generate Shopping List
COOKING
The Crispiest, Juiciest Curry Fried Chicken You’ve Ever Tasted (deep fryer method)
- First things first, we need to prep the chicken by trimming off any excess fat and feathers. Then, using a sharp knife, separate the chicken quarters at the joints and add them to a large bowl.
- Next, we’re going to give the chicken a quick rinse in a mixture of vinegar and water. Let it sit for a minute, then drain and rinse it a couple more times with fresh water to get rid of that vinegar smell. Pat the chicken dry with a clean paper towel and set it aside.
- Now, let’s build the marinade! In the bowl with the chicken, mix in curry, turmeric, onion powder, garlic powder, smoked paprika, all-purpose chicken seasoning, pimento berries, thyme leaves, bay leaves, green seasoning, jerk sauce, and a drizzle of virgin olive oil. Make sure to massage the ingredients all over the chicken, including under the skin.
- Pour coconut milk over the chicken, cover the bowl with an airtight lid, and let it marinate in the refrigerator overnight or for at least 4 hours. Don’t forget to give the coconut milk a good shake before opening it!
- When you’re ready to cook, take the chicken out of the refrigerator and let it sit at room temperature for 30-45 minutes. Heat up some vegetable oil in a deep fryer to 350°F, or use a stovetop if you prefer.
- In a separate bowl, mix together flour, cornstarch, all-purpose seasoning, smoked paprika, salt, and pepper to create a seasoned flour mixture. Remove a piece of chicken from the marinade, shake off the excess liquid, and coat it in the flour mixture. Make sure it’s fully coated, then lightly shake off any excess flour. Repeat this process with all the chicken pieces and place them on a tray.
- For that extra crunch, we’re going to double-dredge! Repeat the coating process one more time for each piece of chicken and set them aside for 5 minutes to allow the coating to stick.
- Once the oil is ready, carefully place the chicken in the fryer and cook in batches for 12 minutes, or until the chicken is golden brown and has an internal temperature of 165°F.
- Remove the chicken from the oil and place it on a wire rack with a paper towel-lined tray to cool. Don’t put it in a bowl or it will soften the crust and make it less crispy.
- Once the oil has cooled, strain it and save it for later use.
- Serve the chicken at room temperature or slightly warm with your favorite side dish and enjoy!

The Crispiest, Juiciest Curry Fried Chicken You’ve Ever Tasted (stove-top method)
- First things first, grab a large, heavy-bottom pot and heat up your oil to 350°F over medium flame. Safety first, so make sure not to fill the pot more than halfway with oil. Use a thermometer to keep the temperature consistent.
- This next step is optional, but it adds a ton of flavor. You can toss in some fresh seasonings like whole Scotch bonnet peppers, garlic cloves, thyme, scallions, and onion to the hot oil before adding the chicken. It’s a use-what-you-have-on-hand kind of thing, so don’t stress about measurements. I usually do this when frying on the stovetop, but for some reason, I never do it when using a deep fryer.
- When the chicken is ready, remove it from the oil and place it on a wire rack with a paper towel-lined tray to cool. Don’t place the chicken in a bowl or it will create steam and soften the crust. And we want that perfectly crisp crust, don’t we?
- Make sure not to overcrowd the pot and fry the chicken in batches. Fry each side for around 10-12 minutes or until golden brown and the internal temperature reaches 165°F.
- Serve the chicken hot or at room temperature with your favorite side dish.
- Once the oil has cooled, strain it and save it for later use. Enjoy!
Need the full, printable recipe? No problem! Just check out the recipe card below for all the ingredients, measurements, and instructions you’ll need. And if you prefer to have a visual guide, we’ve got you covered with a recipe video (coming soon) that will walk you through the process step by step.
RECIPE FAQS
Can I Use Other Types of Curry Powder?
While other types of curry powder can be used, it’s important to note that they may change the flavor profile of the dish. Jamaican curry powder is specifically formulated to complement the flavors of Caribbean cuisine and will give the dish its unique and authentic flavor. Using other types of curry powder may result in a different taste and might not achieve the desired result.
From Bone-In to Boneless: Exploring the Best Chicken parts to Make Fried Chicken
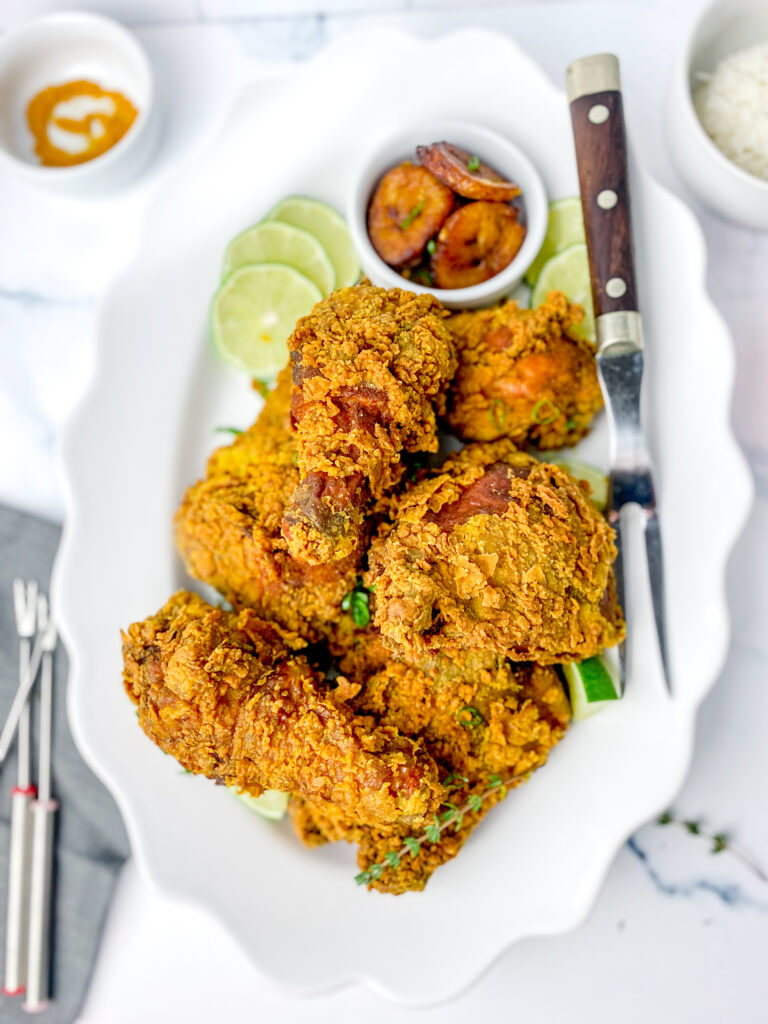
When it comes to making fried chicken, the best parts to use are the bone-in, skin-on pieces such as drumettes, thighs, and wings. These parts have the perfect ratio of skin to meat, and the bone helps to keep the meat juicy and tender.

The Fry Factor: The Secret to Perfect Fried Chicken is the Right Frying Temperature
Want to know the secret to perfectly fried chicken? Temperature! The sweet spot for frying chicken is 350 degrees Fahrenheit (175 degrees Celsius). This ensures that the chicken cooks evenly and the skin becomes crispy and golden brown. If you’re using a deep fryer, it’s as easy as setting the temperature and waiting for the pre-heat light to illuminate.
But if you’re frying on the stovetop, it’s important to use a clip-on deep-fry thermometer to keep an eye on the temperature. This will ensure that the oil stays at the optimal frying temperature, so your chicken comes out perfectly crisp and juicy every time. Trust me, your taste buds will thank you!
If the temperature drops too low, bring the oil back up to temperature before frying the next batch.

The Fry Factor: Get It Right Every Time – How Long To Deep Fry Chicken?
The general rule of thumb is to deep fry chicken for about 12-15 minutes, or until the internal temperature reaches 165 degrees Fahrenheit. However, the cooking time may vary depending on the size and thickness of the chicken pieces. Use a meat thermometer for a more accurate read. Keep in mind that white meat will cook faster than dark.
It’s important to remember that consuming raw or undercooked chicken may pose a risk of foodborne illness such as salmonella or campylobacter. According to the USDA, the best way to ensure that the chicken is fully cooked and safe to eat is by checking its internal temperature. To be safe, all parts of the chicken should reach a minimum internal temperature of 165°F (73.9°C) before consuming. Always use a food thermometer to confirm that the chicken has reached a safe temperature.

The Fry Factor: The Secret to Perfect Fried Chicken Without a Deep Fryer
Yes, you can deep fry chicken without a deep fryer. A large heavy bottom pot, skillet, or Dutch oven (I love Lodge’s dutch oven and skillet) can be used to deep fry chicken on the stovetop. Just make sure the pot is deep enough to accommodate the chicken and the oil.
Cast irons retains and distribute heat evenly which allows for even cooking.
The Fry Factor: What’s the Best Serving Temperature for the Ultimate Fried Chicken Experience?
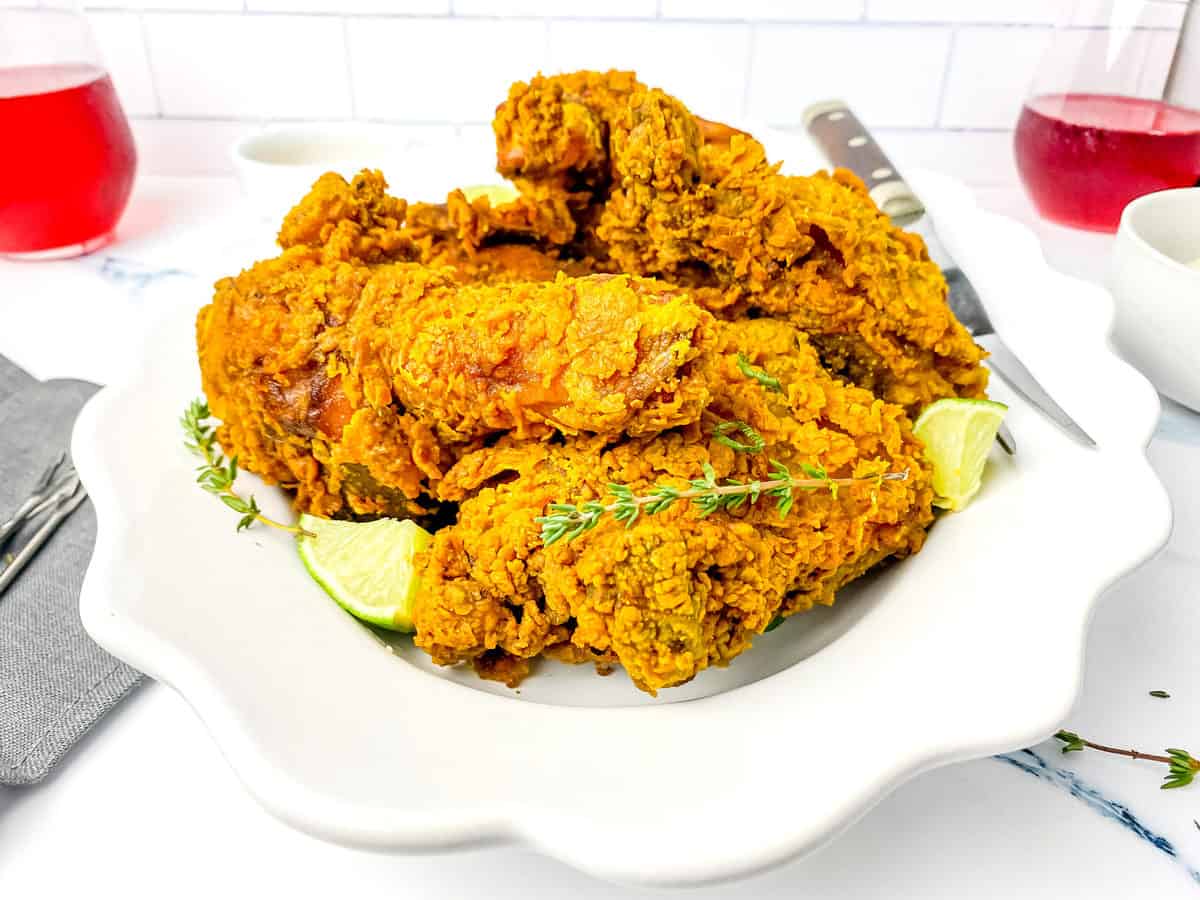
The best temperature to serve fried chicken is at room temperature or slightly warm. This allows the flavors and spices to fully develop and the crust to be crispy and not soggy.
It also ensures that the chicken is not too hot to burn your mouth or too cold to lose its flavor. It’s important to let the chicken cool for a few minutes after frying to prevent any steam from building up and softening the crust.
The Fry Factor: What’s the Best Oil to Fry Chicken In?
When it comes to frying chicken, it’s essential to use an oil with a high smoke point. This is the temperature at which the oil begins to smoke and break down, which can result in a burnt and bitter taste. Some of the best oils to fry chicken in include:
| Oil | Smoke Point | Flavor |
|---|---|---|
| Peanut oil | 440 °F | Mild, neutral |
| Vegetable oil | 400 °F | Neutral |
| Canola oil | 400 °F | Mild, neutral |
| Avocado oil | 520 °F | Mild, slightly nutty |
| Grapeseed oil | 420 °F | Mild, nutty |
| Lard | 370 °F | Rich, savory |
| Vegetable shortening | 360 °F | Neutral |
It’s important to note that the type of oil you use can also affect the flavor of your fried chicken. Peanut oil and vegetable oil have a neutral flavor, so they won’t affect the taste of your chicken. On the other hand, oils like avocado oil and grapeseed oil have a mild, nutty flavor that can add an extra layer of taste to your fried chicken. Additionally, lard and vegetable shortening give your chicken an excellent flavor and unparalleled crispy crust.
The Fry Factor: The Lowdown on Neutral Oils
When it comes to frying, oil choice is just as important as temperature. And when it comes to frying chicken, a neutral oil is the way to go.
But what exactly does “neutral oil” mean?
A neutral oil is an oil that has a neutral taste and odor, and a high smoke point. This means that it won’t impart any unwanted flavors or aromas onto your food and it can handle high heat without smoking or burning. Some examples of neutral oils include canola oil, vegetable oil, and peanut oil.
These oils are perfect for frying chicken because they won’t overpower the natural flavors of the chicken and they can handle the high heat without smoking or burning.
So next time you’re frying up some chicken, reach for a neutral oil for the best results.
A neutral oil is an oil that has a neutral taste and odor, and a high smoke point.

The Fry Factor: Can You Fry Like a Pro with Ghee?
Yes, you can use ghee to fry chicken. Ghee is a type of clarified butter that is traditionally used in Indian cuisine. It has a high smoke point of around 485 °F, making it suitable for frying chicken. The smoke point of ghee is higher than butter, which means it can handle the high heat of deep frying. Additionally, ghee has a nutty and buttery flavor that can enhance the flavor of the chicken. However, it’s important to keep in mind that ghee is a dairy product, so it may not be suitable for those with a dairy allergy or intolerance.
Olive oil is not a neutral oil; it brings a distinct flavor to a dish. Save this for your sautéed dishes and salads.
The Fry Factor: Is Olive Oil the Secret to Making Delicious Fried Chicken?
While olive oil is a popular oil for cooking, it may not be the best oil to use for frying chicken. Olive oil has a relatively low smoke point of around 375-410°F, which means it can easily smoke and break down when exposed to high heat. This can result in a burnt and bitter taste, and also the oil can oxidize which can be dangerous for your health.
When the oil is overheated and starts to smoke, it releases harmful chemicals and free radicals, which can cause damage to cells and increase the risk of chronic diseases. Therefore, it’s best to avoid using olive oil for frying chicken and use oils with a higher smoke point such as peanut oil, vegetable oil, canola oil, avocado oil, or grapeseed oil.
The Fry Factor: Can I Reuse the Fry Chicken Oil?
While it is possible to reuse the oil after frying chicken, it’s not the most recommended option. The oil will start to break down over time and can become rancid, which can affect the flavor and quality of the food. It’s best to use fresh oil each time you fry. But, if you want to save money and be mindful of waste, here’s how you can filter and reuse the fry chicken oil:

The Fry Factor: How to Filter Used Oil for Reuse
- Allow the oil to cool down to room temperature after frying.
- Carefully pour the oil through a fine mesh strainer or cheesecloth into a clean and dry container.
- Make sure to remove any particles or debris that may have accumulated during frying.
- Seal the container tightly and store it in a cool, dry place. It’s important to note that the oil can be reused only a few times. The number of times the oil can be reused depends on the type of oil and how well it’s been filtered and stored.
- Generally, vegetable oils such as canola, sunflower, or peanut oil can be reused up to 4-5 times if it’s been filtered properly and stored in a cool, dark place. However, it’s recommended to discard the oil if it starts to smell rancid, smoke, or has a dark color. Using rancid oil can lead to poor taste and also it might not be safe for consumption.
It’s important to keep in mind that reusing the oil can decrease the smoke point, so it’s best to use a fresh batch of oil for each frying session.

The Cost-Effective Way to Filter Fry Oil: Using a Paper Towel
Filtering oil with a paper towel is an easy and inexpensive method to remove impurities and particles from the oil. Here’s how you can do it:
- Allow the oil to cool down to room temperature after frying.
- Carefully pour the oil into a clean and dry container.
- Take a few layers of paper towel and place it on top of the container.
- Gently press down on the paper towel to absorb any impurities or debris that may have accumulated during frying.
- Discard the paper towel and any impurities it has absorbed.
- Seal the container tightly and store it in a cool, dry place.
It’s important to note that filtering the oil with a paper towel is not as effective as using a fine mesh strainer or cheesecloth and it can only be used a limited number of times.

The Flour Factor: Choosing the Right Flour for Perfectly Fried Chicken
You might think that all flour is created equal, but when it comes to frying chicken, not all flours are equal. The type of flour you use can greatly affect the final result of your crispy fried chicken.
So what type of flour is best for frying chicken? All-purpose flour is the way to go. It’s a versatile flour that can be used for everything from baking to frying, and it’s the perfect choice for this recipe. It’s a blend of hard and soft wheat, which gives it the perfect balance of gluten and starch to create a crispy coating.
But here’s a pro tip: adding cornstarch to your flour mixture is the secret weapon for extra crispy fried chicken.
So don’t be afraid to play around with different flours and find the perfect combination for your fried chicken recipe. And remember, the key to perfectly crispy fried chicken is all in the flour.

The Flour Factor: Can I Use Self-Rising Flour for Fried Chicken?
So you’re all set to make some delicious fried chicken and you reach for the flour, but wait – is self-rising flour the same as all-purpose flour? Can it be used to make crispy fried chicken? The answer is, it depends.
Self-rising flour is a combination of all-purpose flour, baking powder, and salt. It’s great for making quick bread and cakes, but when it comes to frying chicken, it’s not the best choice. The baking powder and salt in self-rising flour can affect the texture and taste of the fried chicken, and it may not give you that crispy crust you’re looking for.
That being said, if you’re in a pinch and don’t have all-purpose flour on hand, self-rising flour can be used as a substitute. However, it’s important to note that you may need to adjust the recipe and the outcome may not be the same as using all-purpose flour.
So, if you’re looking for the perfect crispy fried chicken, it’s best to stick with all-purpose flour. But if you’re feeling adventurous and have self-rising flour on hand, give it a try and see how it turns out! Just remember, self-rising flour may not give you the same crispy crust as all-purpose flour
You can also create a DIY self-rising flour at home.

SUBSTITUTIONS
If you don’t have coconut milk, you can use almond milk, soy milk, or even whole milk as a substitute. However, keep in mind that these substitutes may change the flavor and texture of the dish slightly.
To retain the authentic flavor, you can use coconut milk powder or coconut cream (dilute according to the packaging instructions).
Additionally, you can also try using yogurt or sour cream, but again, the flavor may be slightly different. The key is to use a milk-like substitute that will add moisture and richness to the marinade and dredge mixture.
No, ground turmeric is not a suitable substitute for fresh turmeric in this recipe. The powder allows for easy dispersion in the marinade and dredging mixture. However, if you don’t have fresh turmeric, don’t worry! You can leave it out altogether, it’s can be an optional ingredient.
VARIATION
If you’re looking to add even more flavor to your curry fried chicken, for a spicy kick, add a few slices of Scotch bonnet pepper to the marinade.

Got Leftovers?
A Step-by-Step Guide to Storing Your Leftover Fried Chicken Properly
If you store your leftover fried chicken the right way, it will stay fresh and safe to eat. Here’s how to do it:
- Allow the chicken to cool: Before storing the chicken, let it cool to room temperature. This will prevent the heat from causing condensation, which can lead to spoilage.
- Wrap it up: Wrap the chicken tightly in aluminum foil or plastic wrap to keep it fresh.
- Use an airtight container: Transfer the wrapped chicken to an airtight container, such as a Tupperware or a plastic container with a tight-fitting lid. This will help prevent air from entering and drying out the chicken.
- Refrigerate: Place the container in the refrigerator and store for up to three days. If you won’t be eating the chicken within that time frame, freeze it for later use.
- Reheat properly: When it’s time to eat the leftover fried chicken, make sure to reheat it properly to prevent food-borne illnesses. Place it in the oven or air fryer until it reaches an internal temperature of 165°F.

Need To Reheat?
The Oven Method: How to Reheat Leftover Fried Chicken to Perfection
Here’s how to do it:
- Preheat your oven to 375°F (190°C).
- Place the leftover fried chicken on a baking sheet lined with foil or parchment paper.
- Cover the chicken with foil or use a lid to trap the heat and moisture.
- Bake the chicken for 10-15 minutes or until heated through.
- Check the chicken for doneness by using a meat thermometer. The internal temperature should reach 165°F.
- If the chicken is not fully reheated, continue to heat it for an additional 5 minutes or until it reaches the desired temperature.
- Remove the foil or lid from the chicken for the last 5 minutes of baking to allow the chicken to get crispy again.
- Let the chicken sit for a couple of minutes to allow the heat to distribute evenly before serving.
The reheating time may vary depending on the amount of chicken you are reheating. Be sure to check the chicken frequently to avoid overcooking it. You can also broil it for a couple of minutes to get extra crispiness if desired.

The Microwave Method: How to Reheat Fried Chicken Quickly
Reheating fried chicken in the microwave can be a quick and convenient option, but it may not produce the same crispy texture as when it was originally fried.
Here’s how to reheat fried chicken in the microwave:
- Place the chicken on a microwave-safe plate: Make sure to place a damp paper towel or a microwave-safe cover on the plate to absorb excess moisture.
- Microwave in intervals: Start by microwaving the chicken in 30-second increments. This will prevent the chicken from becoming rubbery or drying out. Check the internal temperature of the chicken with a food thermometer to ensure it reaches an internal temperature of 165°F.
- Cover the chicken: Cover the chicken with a microwave-safe cover or wrap it in microwave-safe plastic wrap to help retain its moisture.
- Microwave until hot: Continue microwaving the chicken in 30-second increments until it’s heated through. This should take about 2-3 minutes, depending on the amount of chicken and the power of your microwave.
The reheating time may vary depending on the wattage of your microwave and the amount of chicken you are reheating. Be sure to check the chicken frequently to avoid overcooking it.

The Air Fryer Method: How to Reheat Leftover Fried Chicken Perfectly
Here’s how to do it:
- Preheat the air fryer: Preheat the air fryer to 400°F for about 5 minutes.
- Place the chicken in the air fryer basket: Place the fried chicken pieces in a single layer in the air fryer basket. Do not overcrowd the basket.
- Reheat the chicken: Cook the chicken for about 5-6 minutes, or until it reaches an internal temperature of 165°F. You may need to flip the chicken pieces halfway through cooking to ensure even heating.
- Check the chicken: Use a meat thermometer to check the internal temperature of the chicken to ensure it is fully reheated. If it needs more time, cook for another 2-3 minutes.
- Serve: Once the chicken is heated through, remove it from the air fryer and serve immediately. Enjoy your crispy and delicious reheated fried chicken!
Note: The cooking time may vary depending on the size and thickness of the chicken pieces and the model of the air fryer. It’s best to keep an eye on the chicken as it reheats to avoid over or undercooking.

Reheating Fried Chicken: Microwave vs. Oven vs. Air Fryer
| Method | Advantages | Disadvantages |
|---|---|---|
| Microwave | Quick and Convenient | May result in a soggy texture; Can dry out the chicken; May not heat evenly |
| Oven | Can preserve the crispiness of the coating; Heats evenly | Takes longer than the microwave; Requires preheating; Can dry out the chicken if not covered |
| Air Fryer | Revives the crispiness of the coating; Heats evenly; Quicker than the oven | Can be more expensive than the microwave or oven; May take up more counter space; May require multiple batches if reheating a large amount of chicken |
In conclusion, the best way to reheat fried chicken depends on personal preferences and the desired outcome. The microwave is the quickest and most convenient option, the oven is great for preserving the crispiness, and the air fryer is excellent for reviving the crispiness and producing evenly reheated chicken.

WRAP UP ✌🏾
Curry-fried chicken is a delicious and easy-to-make twist on a classic dish. Whether you’re a fan of spicy food or just love all things curry, this recipe is sure to become a new favorite. So why not try it out for yourself and discover just how tasty this dish can be?
And if you try this recipe, we’d love to hear your thoughts! Please leave a comment below to let us know how it turned out for you. Your feedback is always appreciated!
Kraving More?
If you enjoyed this recipe, be sure to check out my other krave-worthy curry or chicken recipes or browse The Recipe Index for even more even delicious eats.

Key Equipment/Products Used
 Buy Now →
  Buy Now →
Lodge 5 Quart Cast Iron Dutch Oven
Buy Now → Buy Now →
  Buy Now →
Measuring Spoon Set (magnetic)
Buy Now → Buy Now →
  Buy Now →
  Buy Now →
Blue Mountain Country Curry Powder
Buy Now →
Thai Kitchen Unsweetened Coconut Milk
Buy Now →Nutrition Facts
3 servings per container
Calories3967.62
- Amount Per Serving% Daily Value *
- Total Fat
347.03g
534%
- Sodium 2820.11mg 118%
- Amount Per Serving% Daily Value *
- Total Carbohydrate
123.45g
41%
- Sugars 5.8g
- Protein 85.11g 170%
- Vitamin A 156.6%
- Vitamin C 1.1%
- Iron 8.07%
- Phosphorus 825%
- Zinc 3.44%
* The % Daily Value tells you how much a nutrient in a serving of food contributes to a daily diet. 2,000 calories a day is used for general nutrition advice.
kerriannskravings.com occasionally offers nutritional information for recipes contained on this site. This information is provided as a courtesy and is an estimate only. To obtain the most accurate representation of the nutritional information in any given recipe, you should calculate the nutritional information with the actual ingredients used in your recipe. For more information read our Nutritional Disclaimer.






We absolutely love a good fried chicken in our household and this recipe was absolutely delicious. It was crispy, and full of flavor.
As much as I enjoy both, I had never thought about combining curry and fried chicken until finding your recipe. The crisp was perfection AND flavor on point. Thank you!
This fried chicken was out of this world! It was so crispy and the flavors were on point! I will absolutely be coming back and making this over and over!
LET ME TELL YOU – THIS RECIPE IS A MUST TRY! Omg, we loved every bite of this, and the addition of the curry gave the chicken another layer of flavour that was magical! Love this recipe will be trying again and again!
This was my first time ever seeing curry fried chicken and I knew I had to try it. Made it for dinner last night and it was AMAZING. Will definitely be making this again!
This was so beautiful!!! I am talking the perfect crispy crust and the most juicy flesh within! It was so simple to make and perfectly seasoned too!!
My taste buds have been desiring something new for awhile now, so I was thrilled to come across your recipe. This chicken was so good we barely had any left overs!
I love making fried chicken and the addition of curry was beyond tasty! definitely a repeat recipe.
This curry fried chicken is EVERYTHINGGGG! The flavor is so good! I made this for dinner Sunday and my family is already asking me to make it again.
Lilly, I’m so glad you and your family LOVED the Curry Fried Chicken! Thanks for the feedback!! One love xx